DIY Barometer

Have science fun as a family! Complete activities with parental supervision.
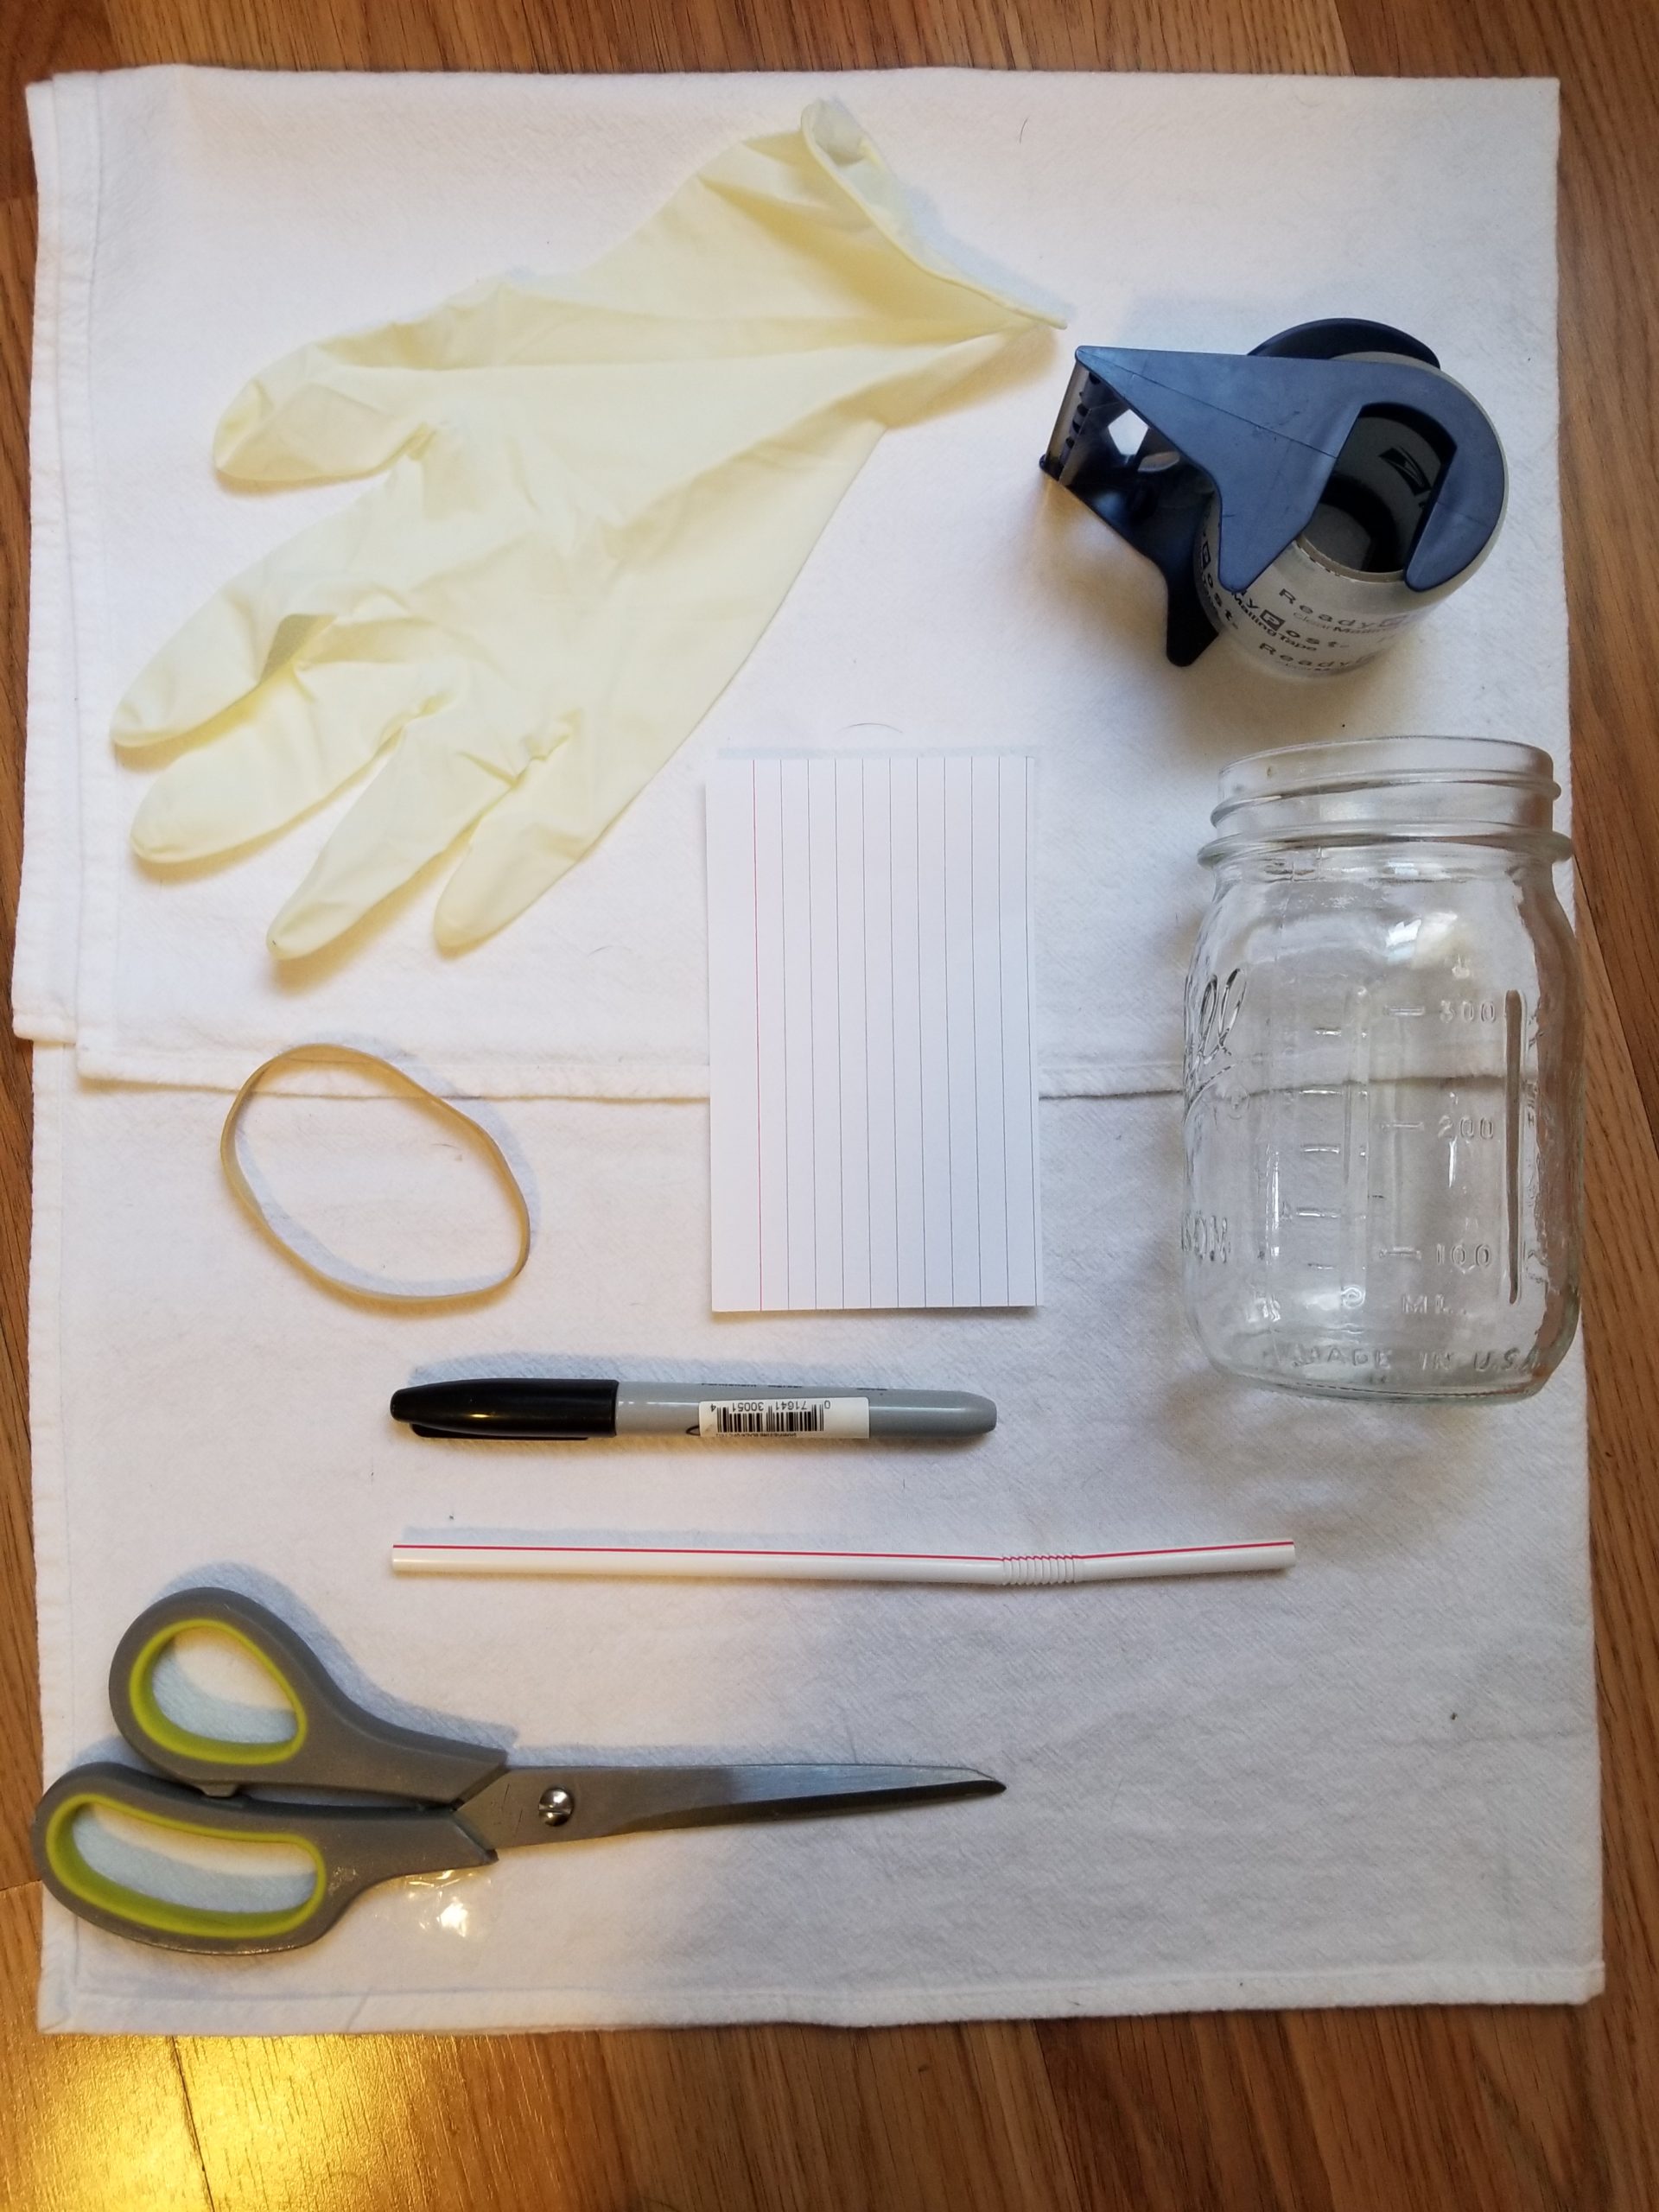
Materials:
- Glass jar
- Balloon or rubber glove
- Rubber band
- Plastic straw
- Tape
- Index card
- Permanent marker
- Scissors
Procedure
- If you are using a balloon, cut off the skinny part of the balloon.
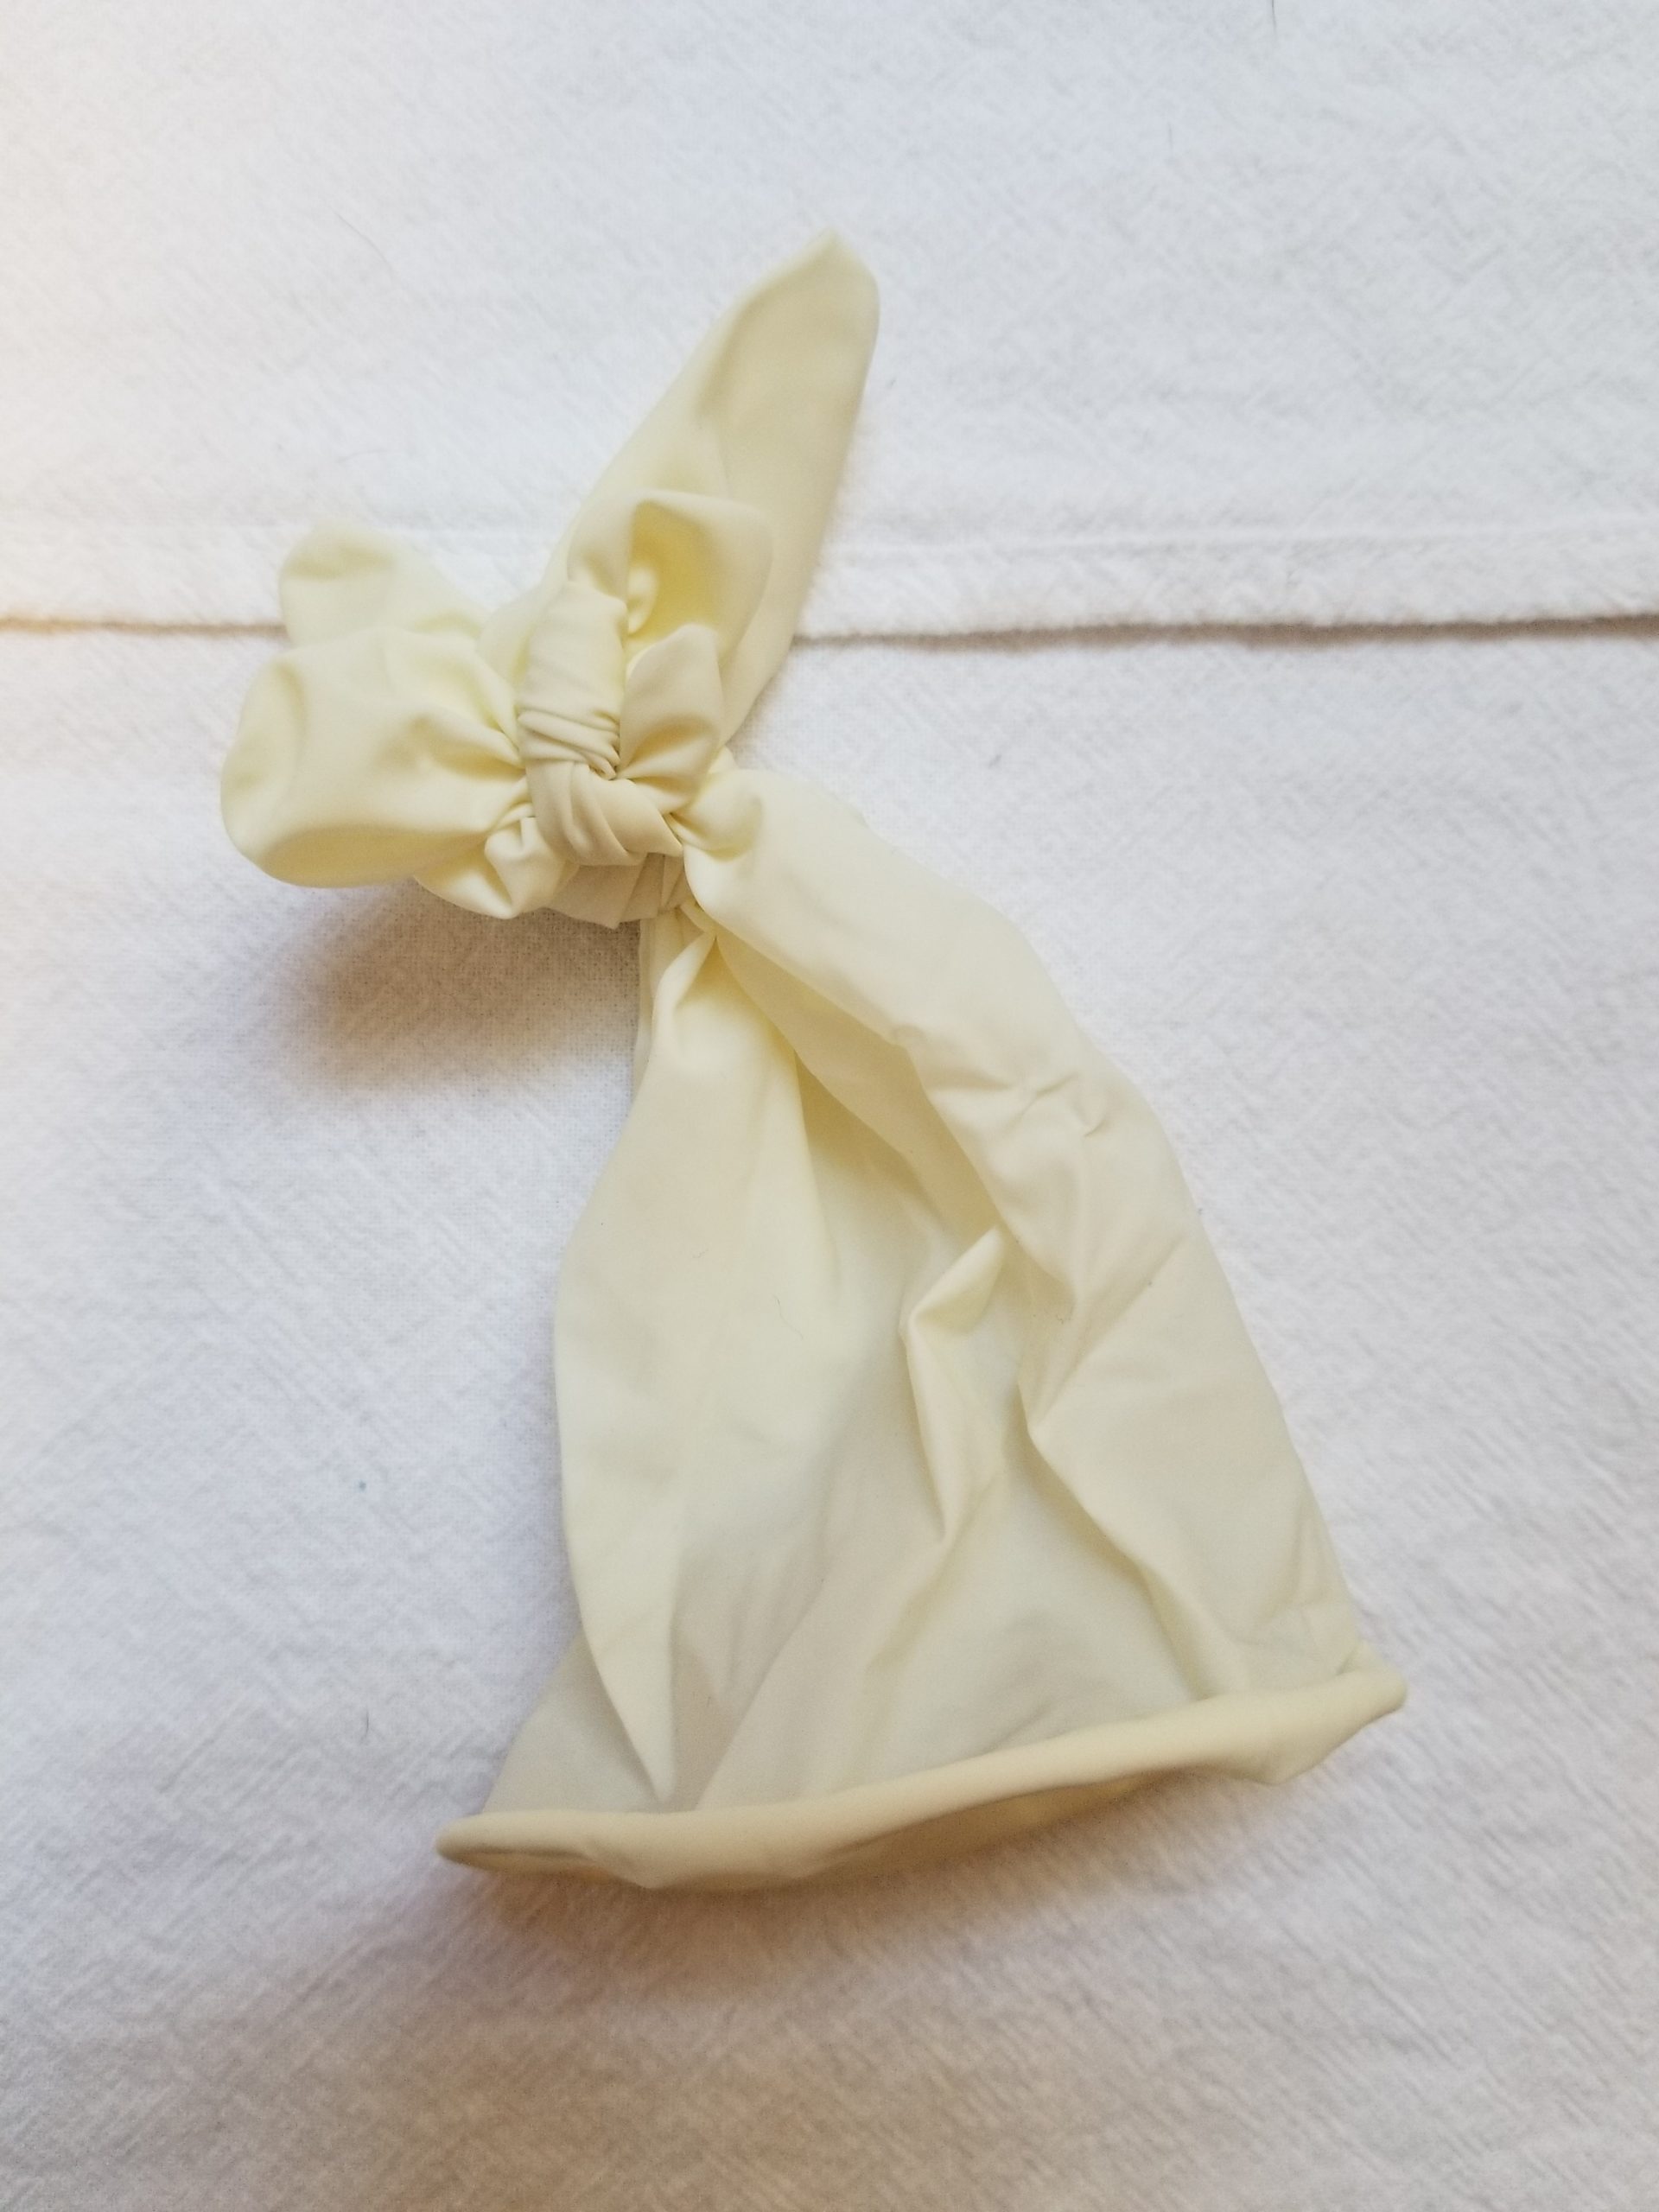
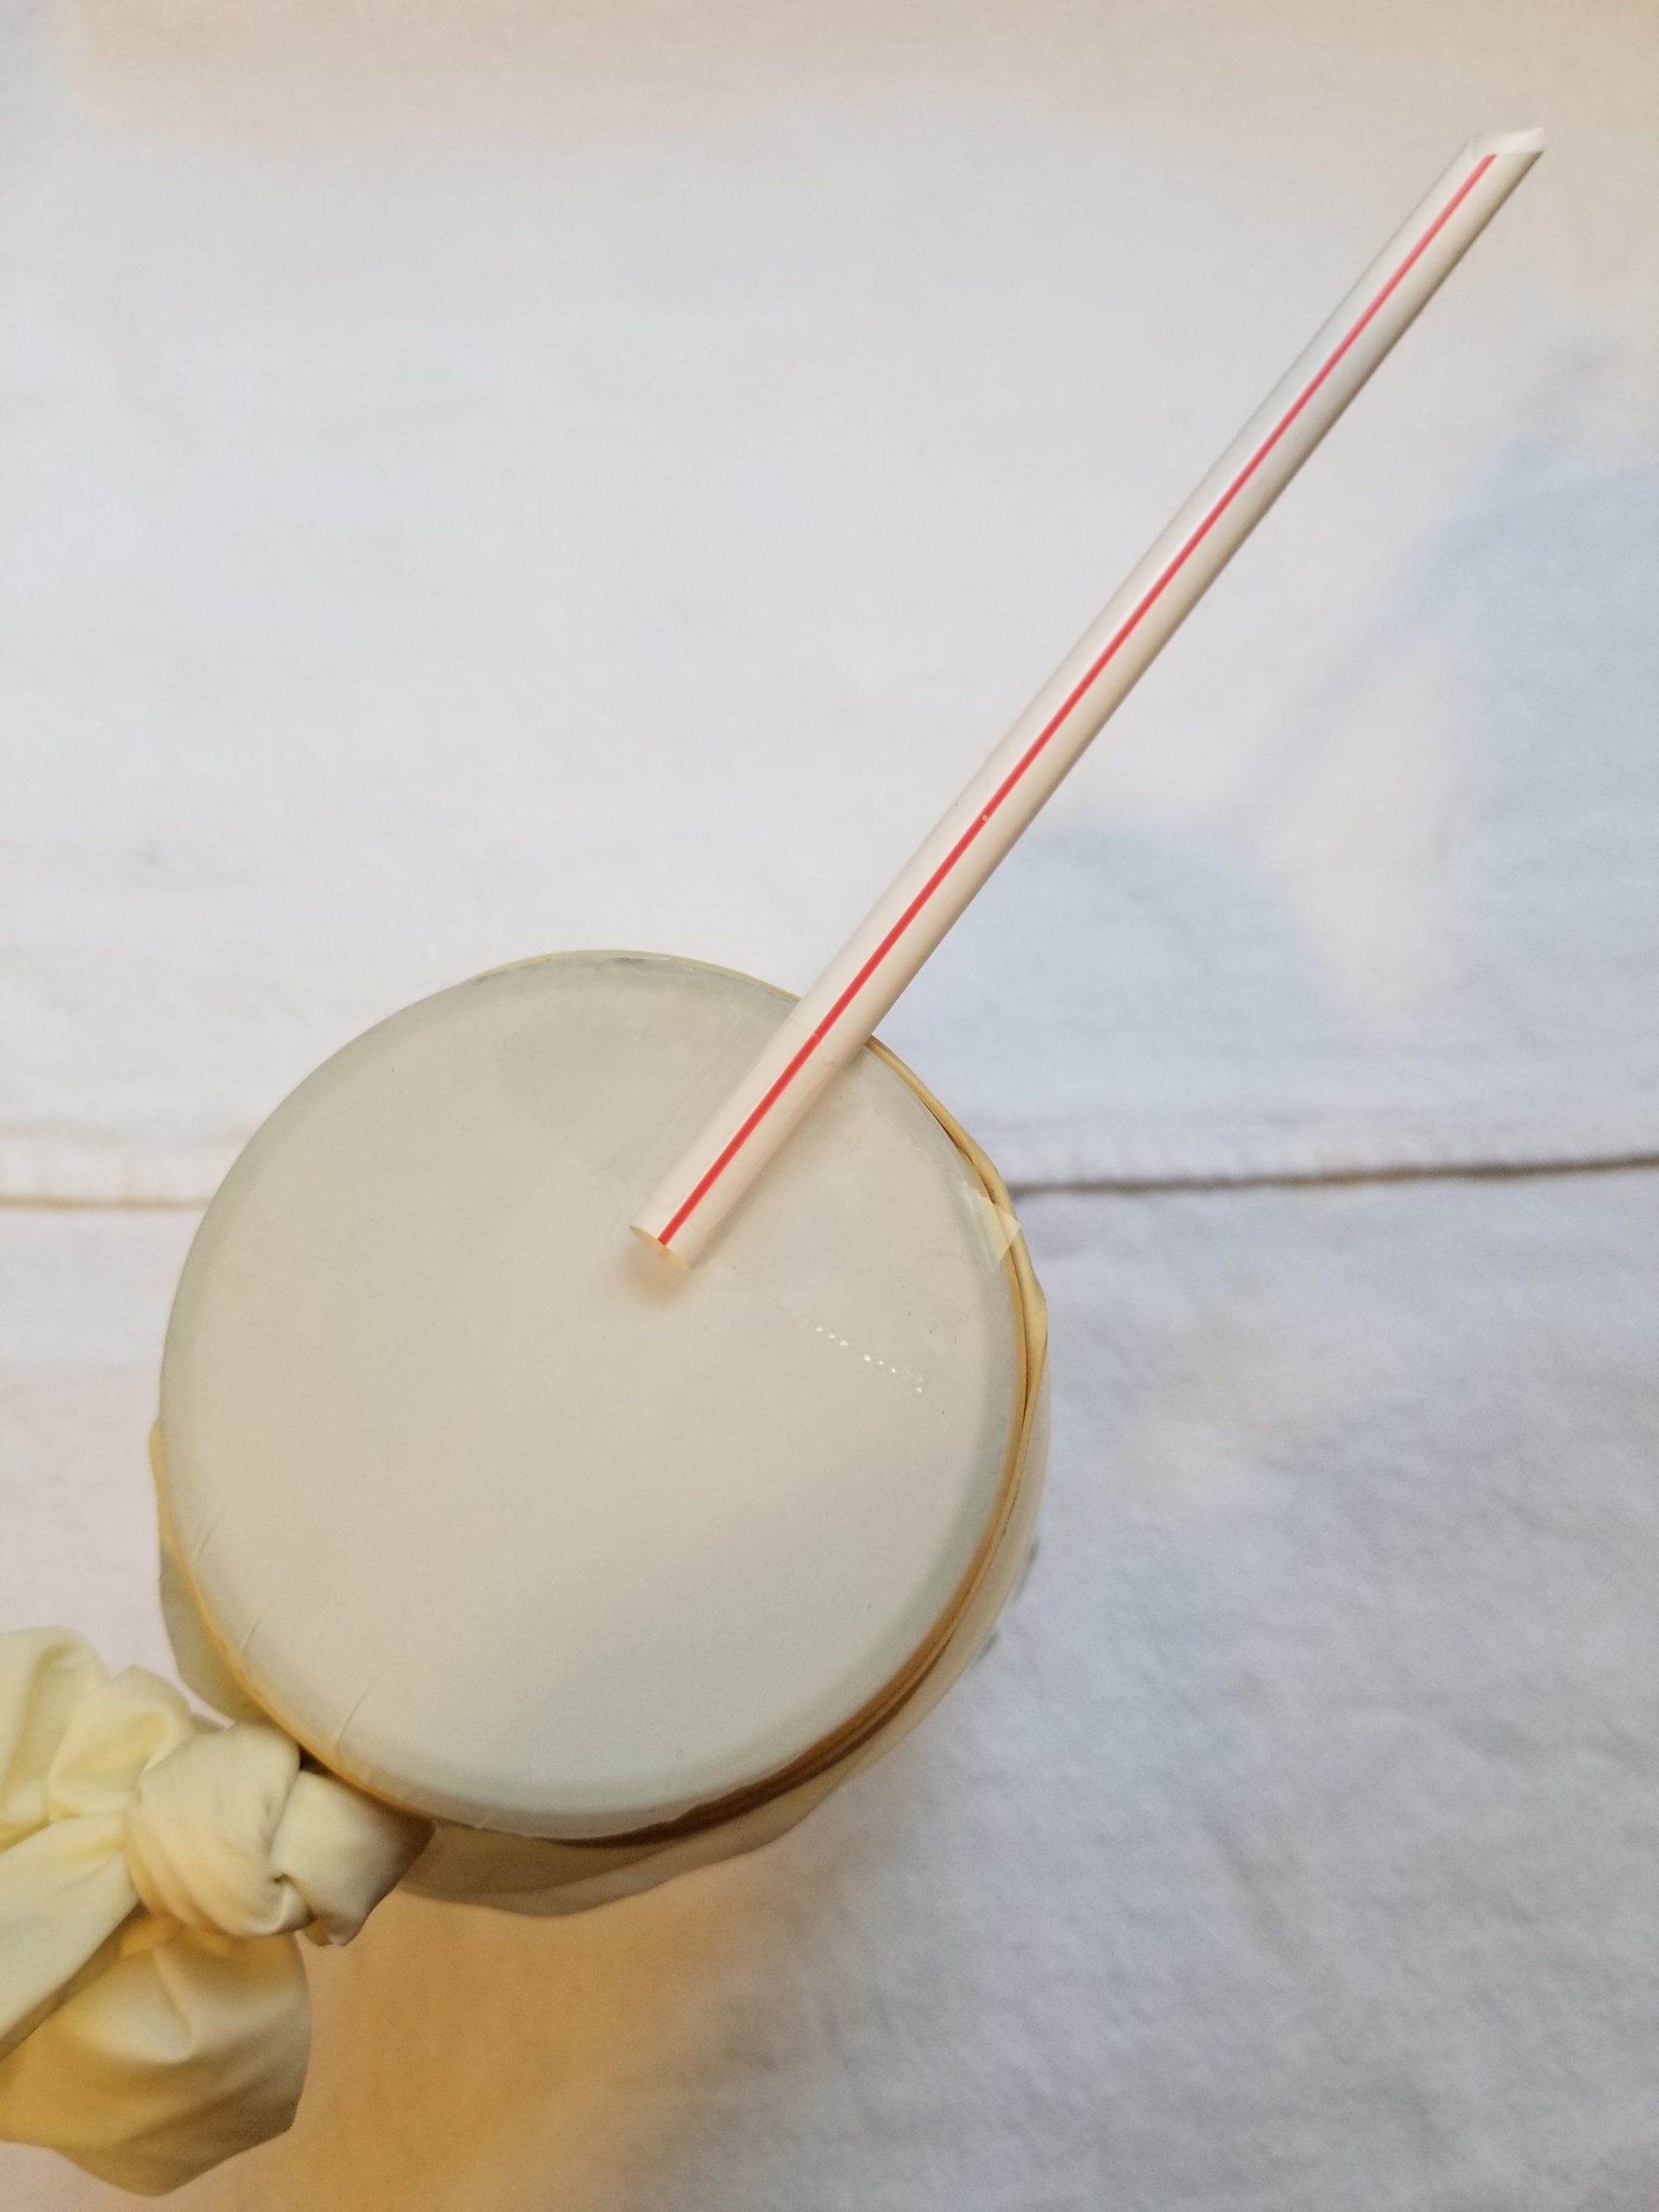
- Stretch the balloon or rubber glove out over the lid of the glass jar so it is nice and tight, and secure it with a rubber band. If you’re using a rubber glove, knot the fingers together to keep them out of the way.
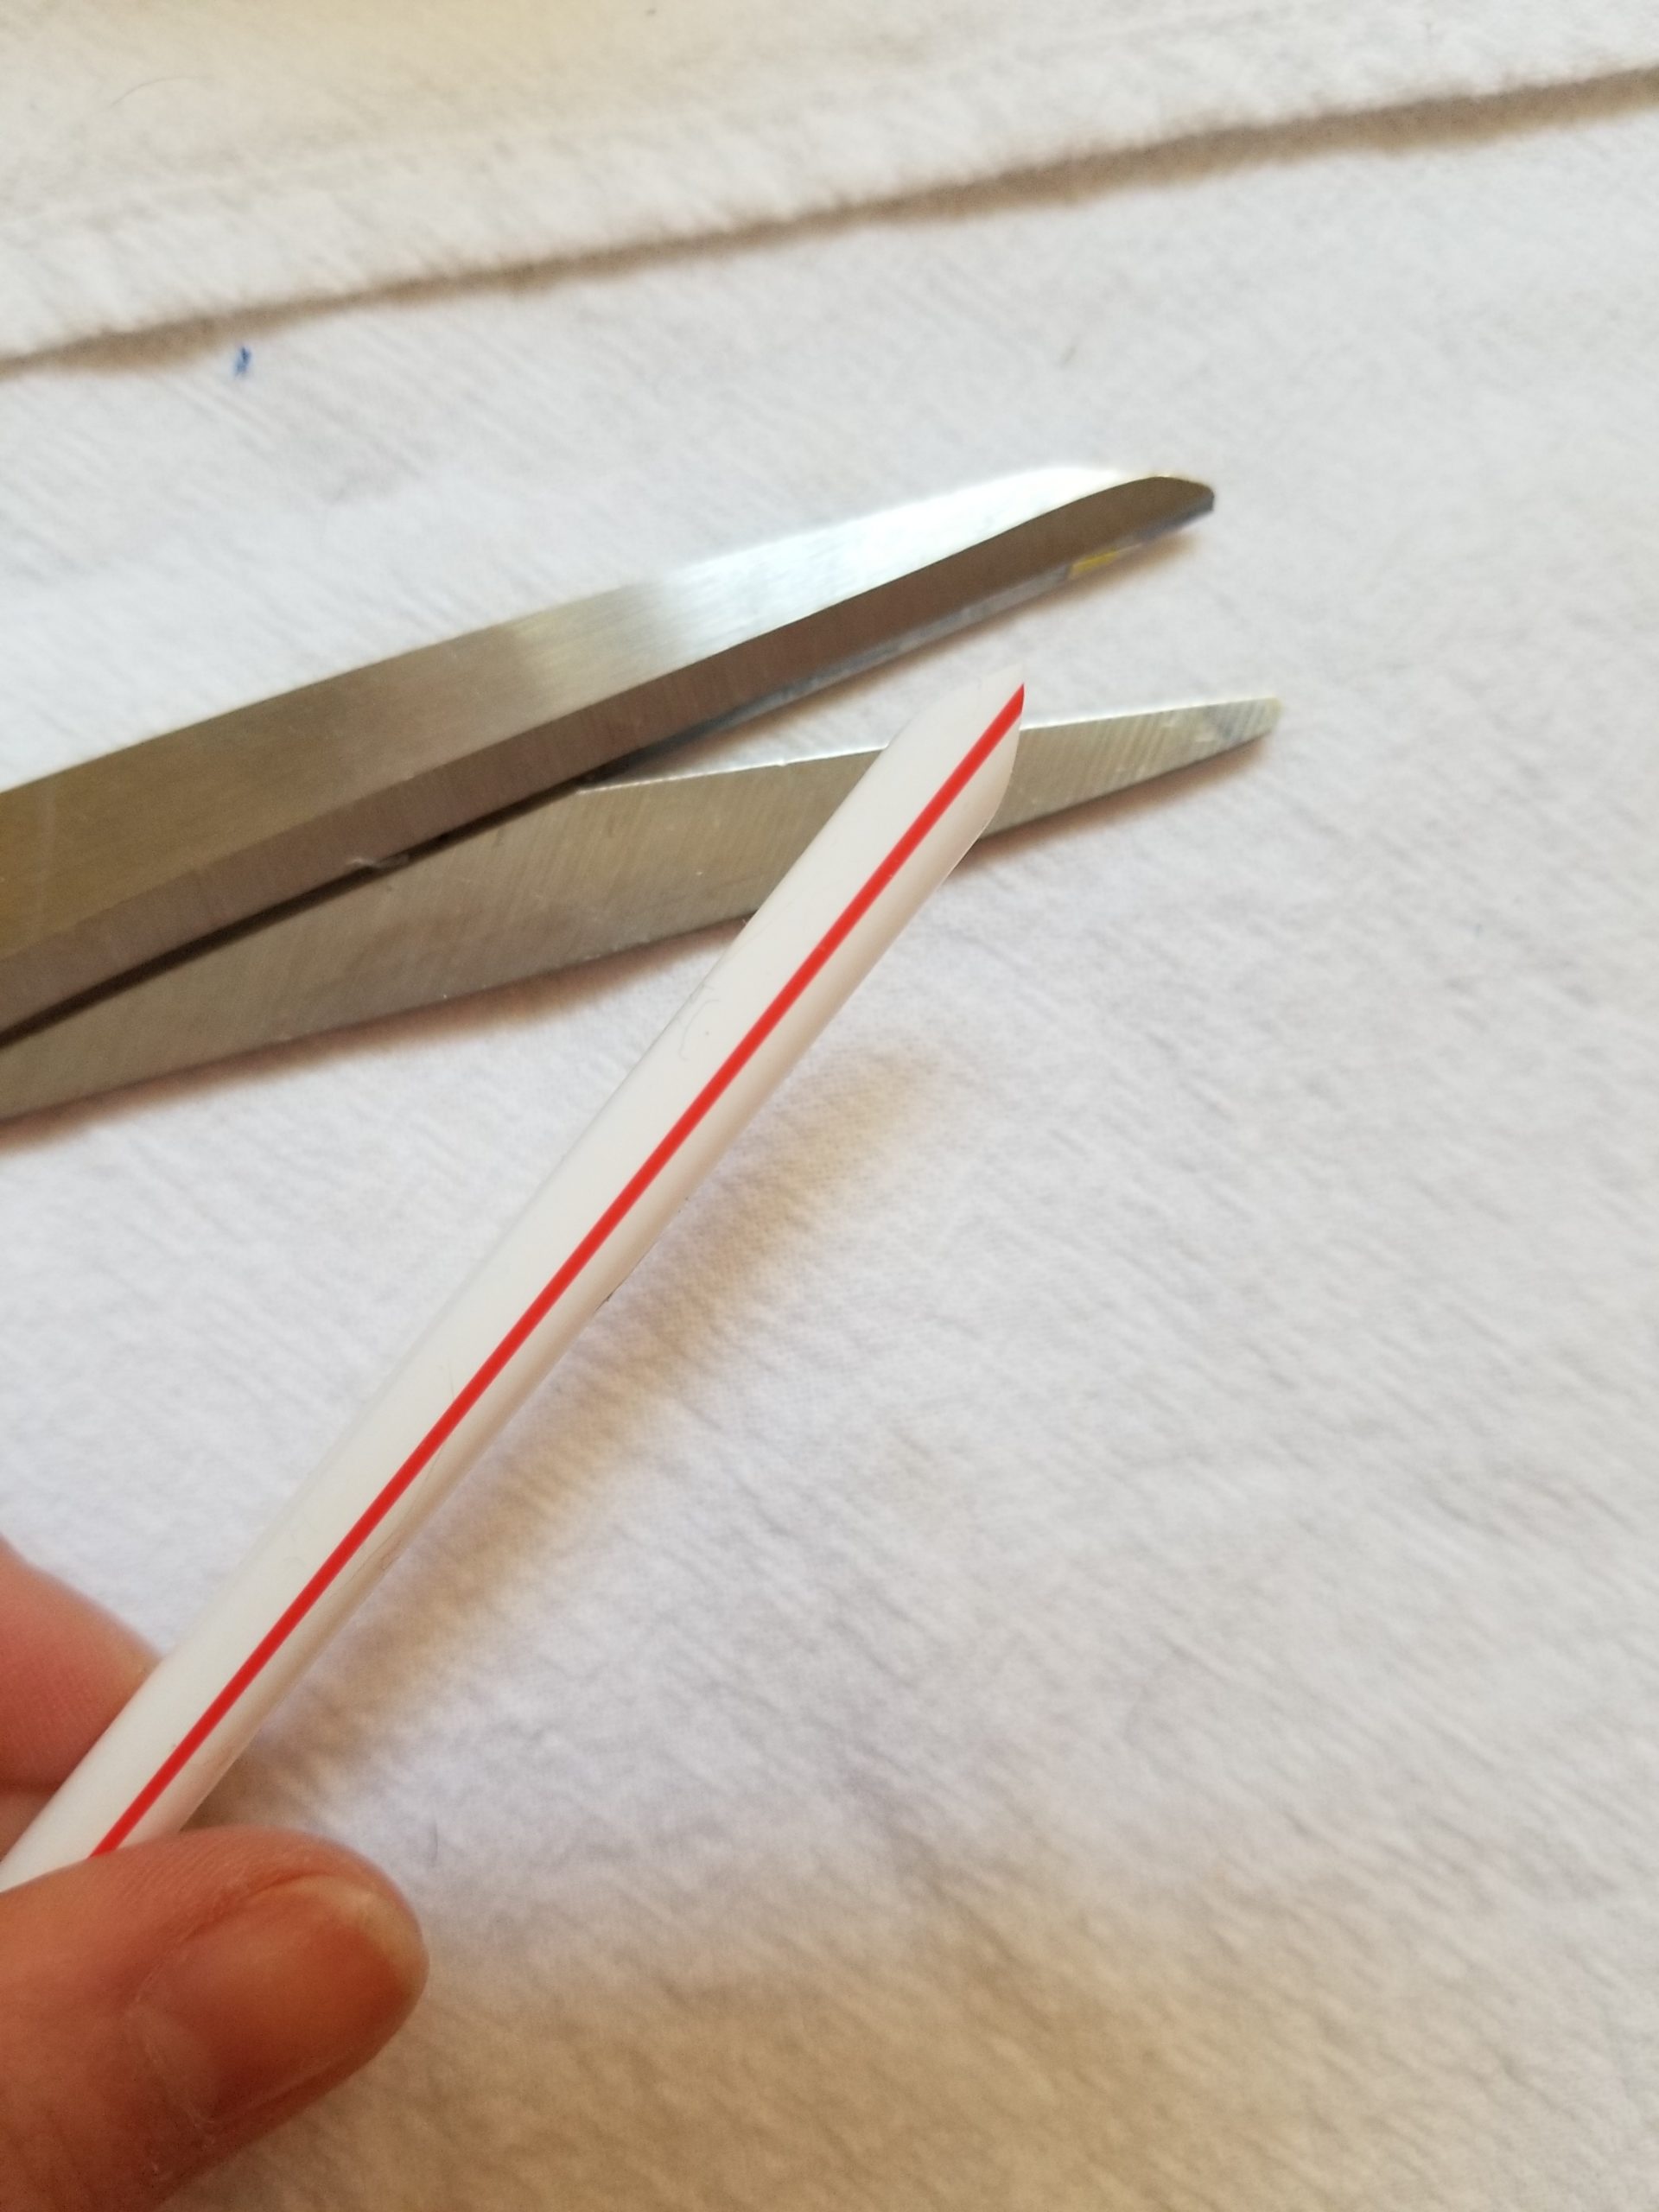
- Cut the straw into a point and tape it to the balloon or rubber glove making sure that it is no more than half way on.
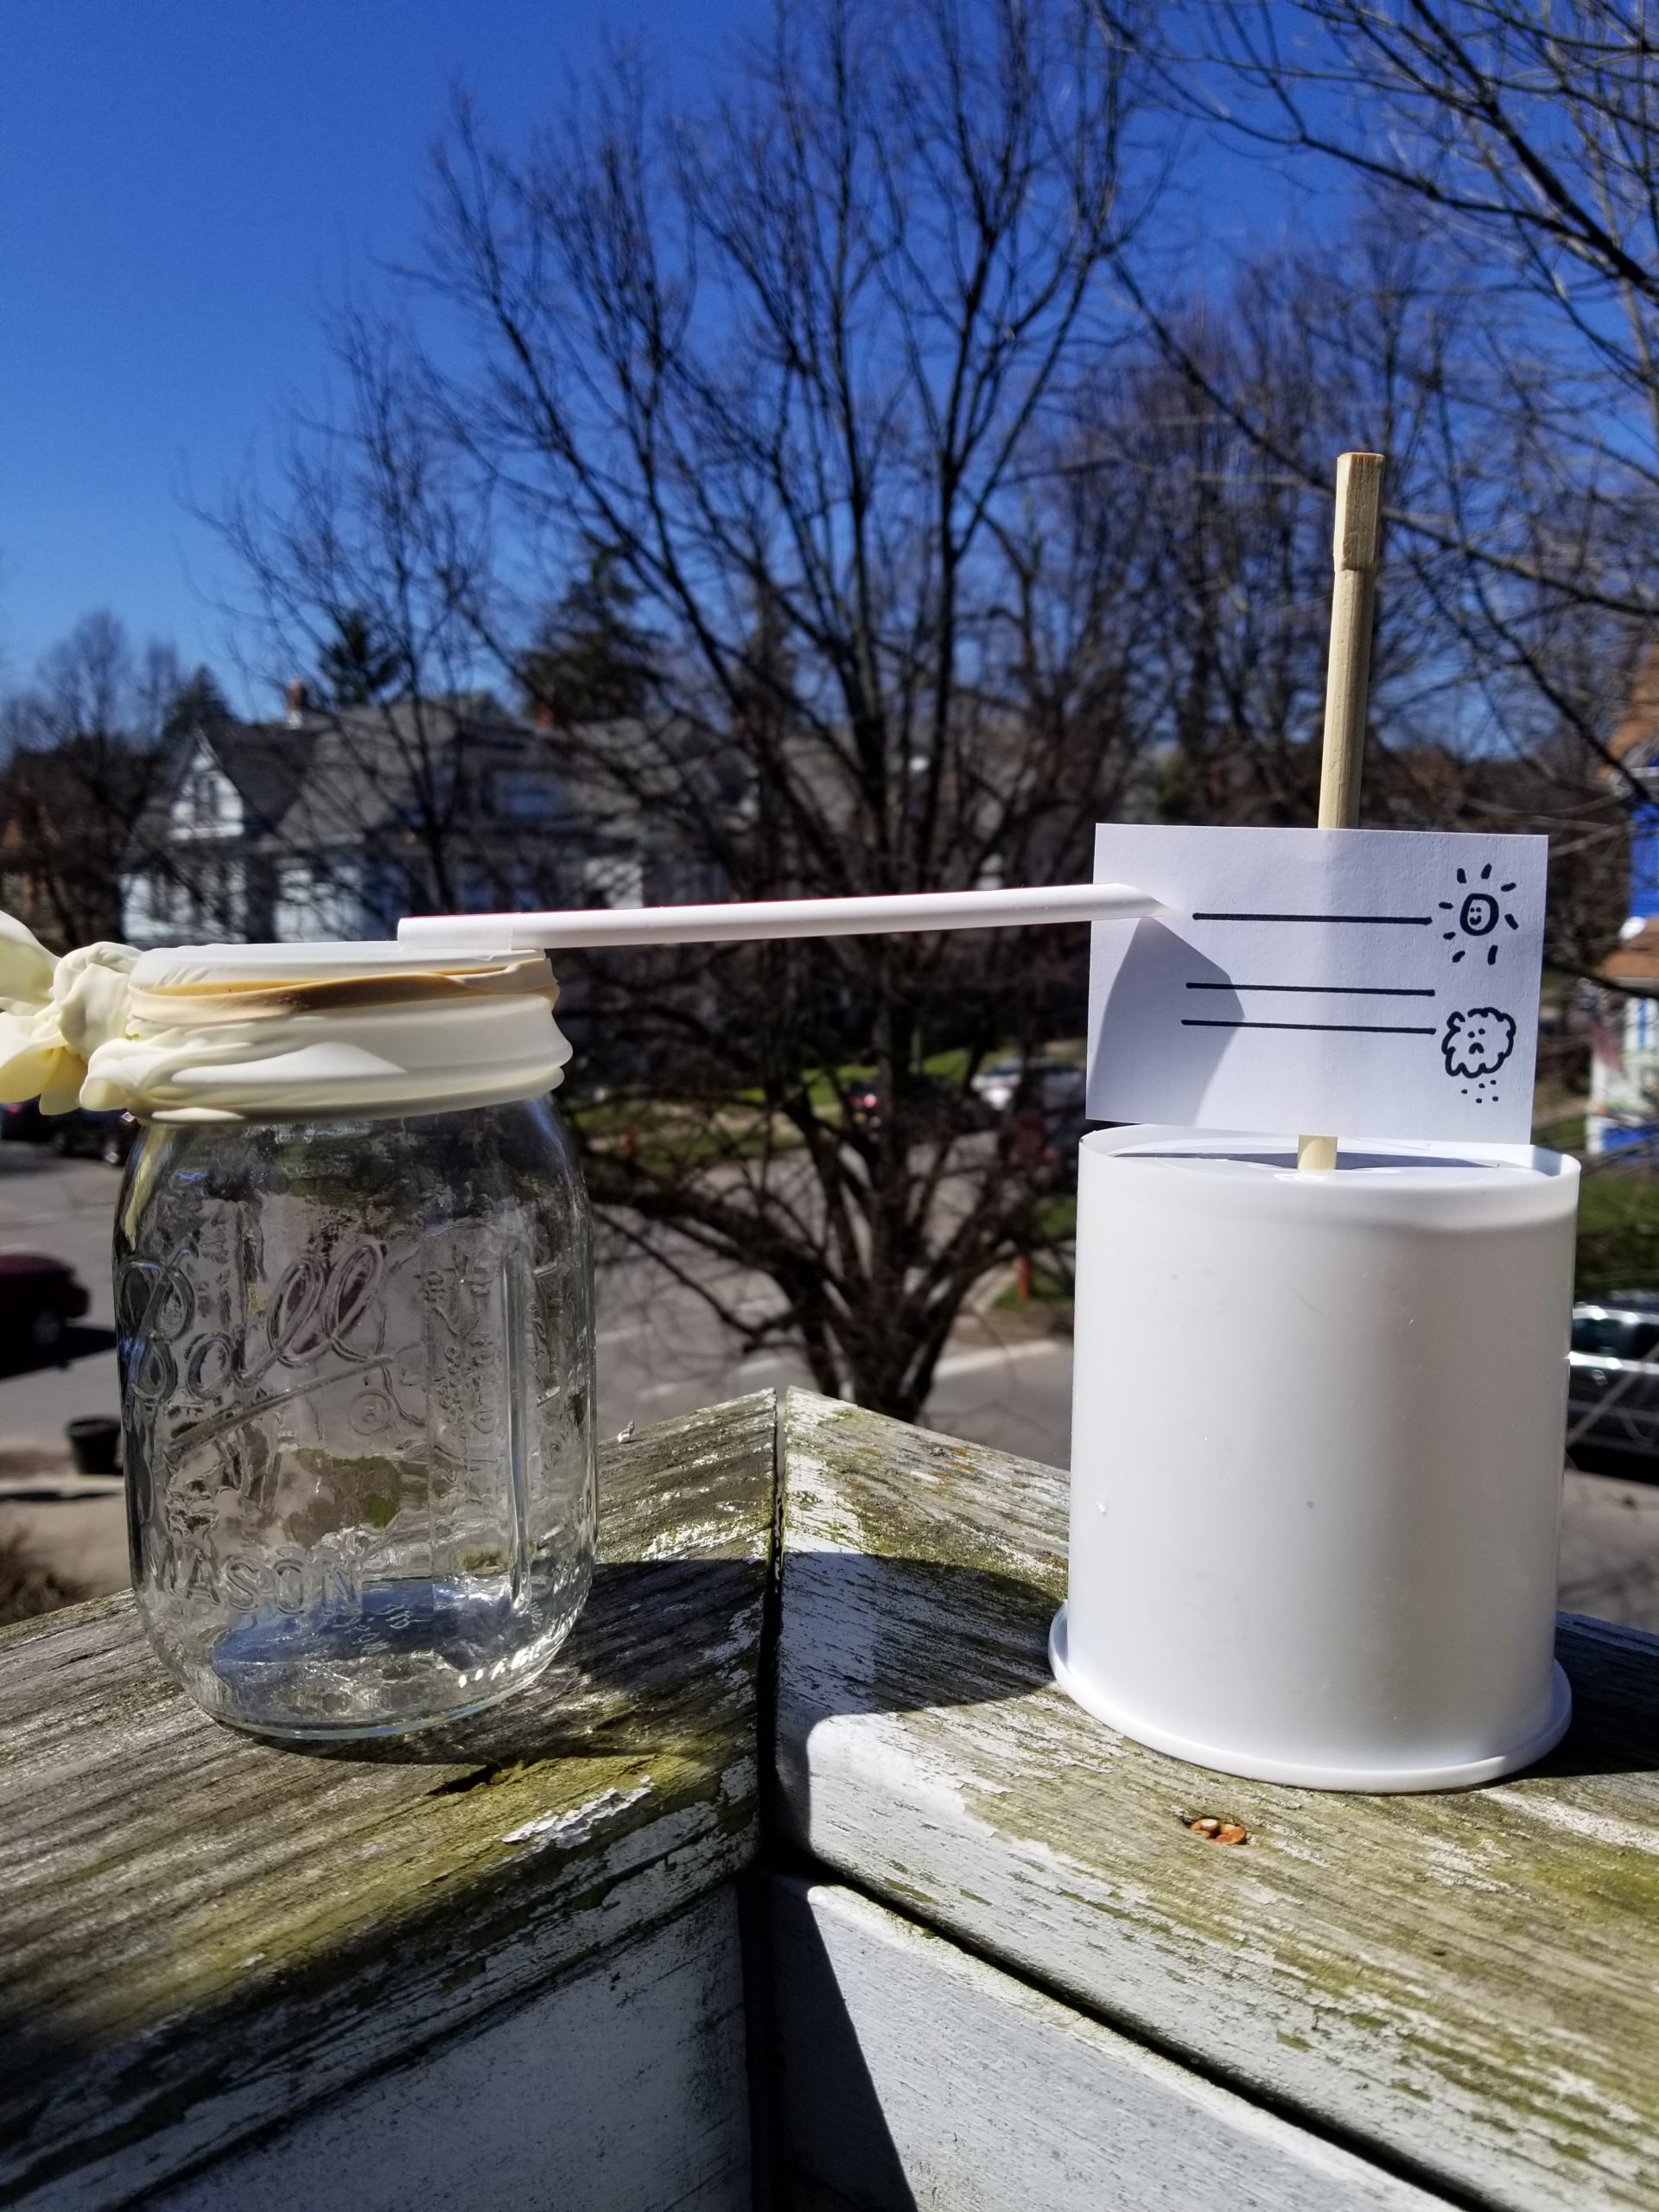
- Tape the index card to a stable surface and use the index card and permanent marker to start recording the weather outside, and thus air pressure.
- Over the next week, see if the straw moves up or down and what the weather outside is like. Draw on the index card accordingly.
- Be sure to take a picture or video to share in the Facebook comments on the Buffalo Museum of Science or Tifft Nature Preserve pages!
What’s it all about?
A meteorologist is a scientist who studies the atmosphere and what happens there in order to understand, explain, and predict the weather.
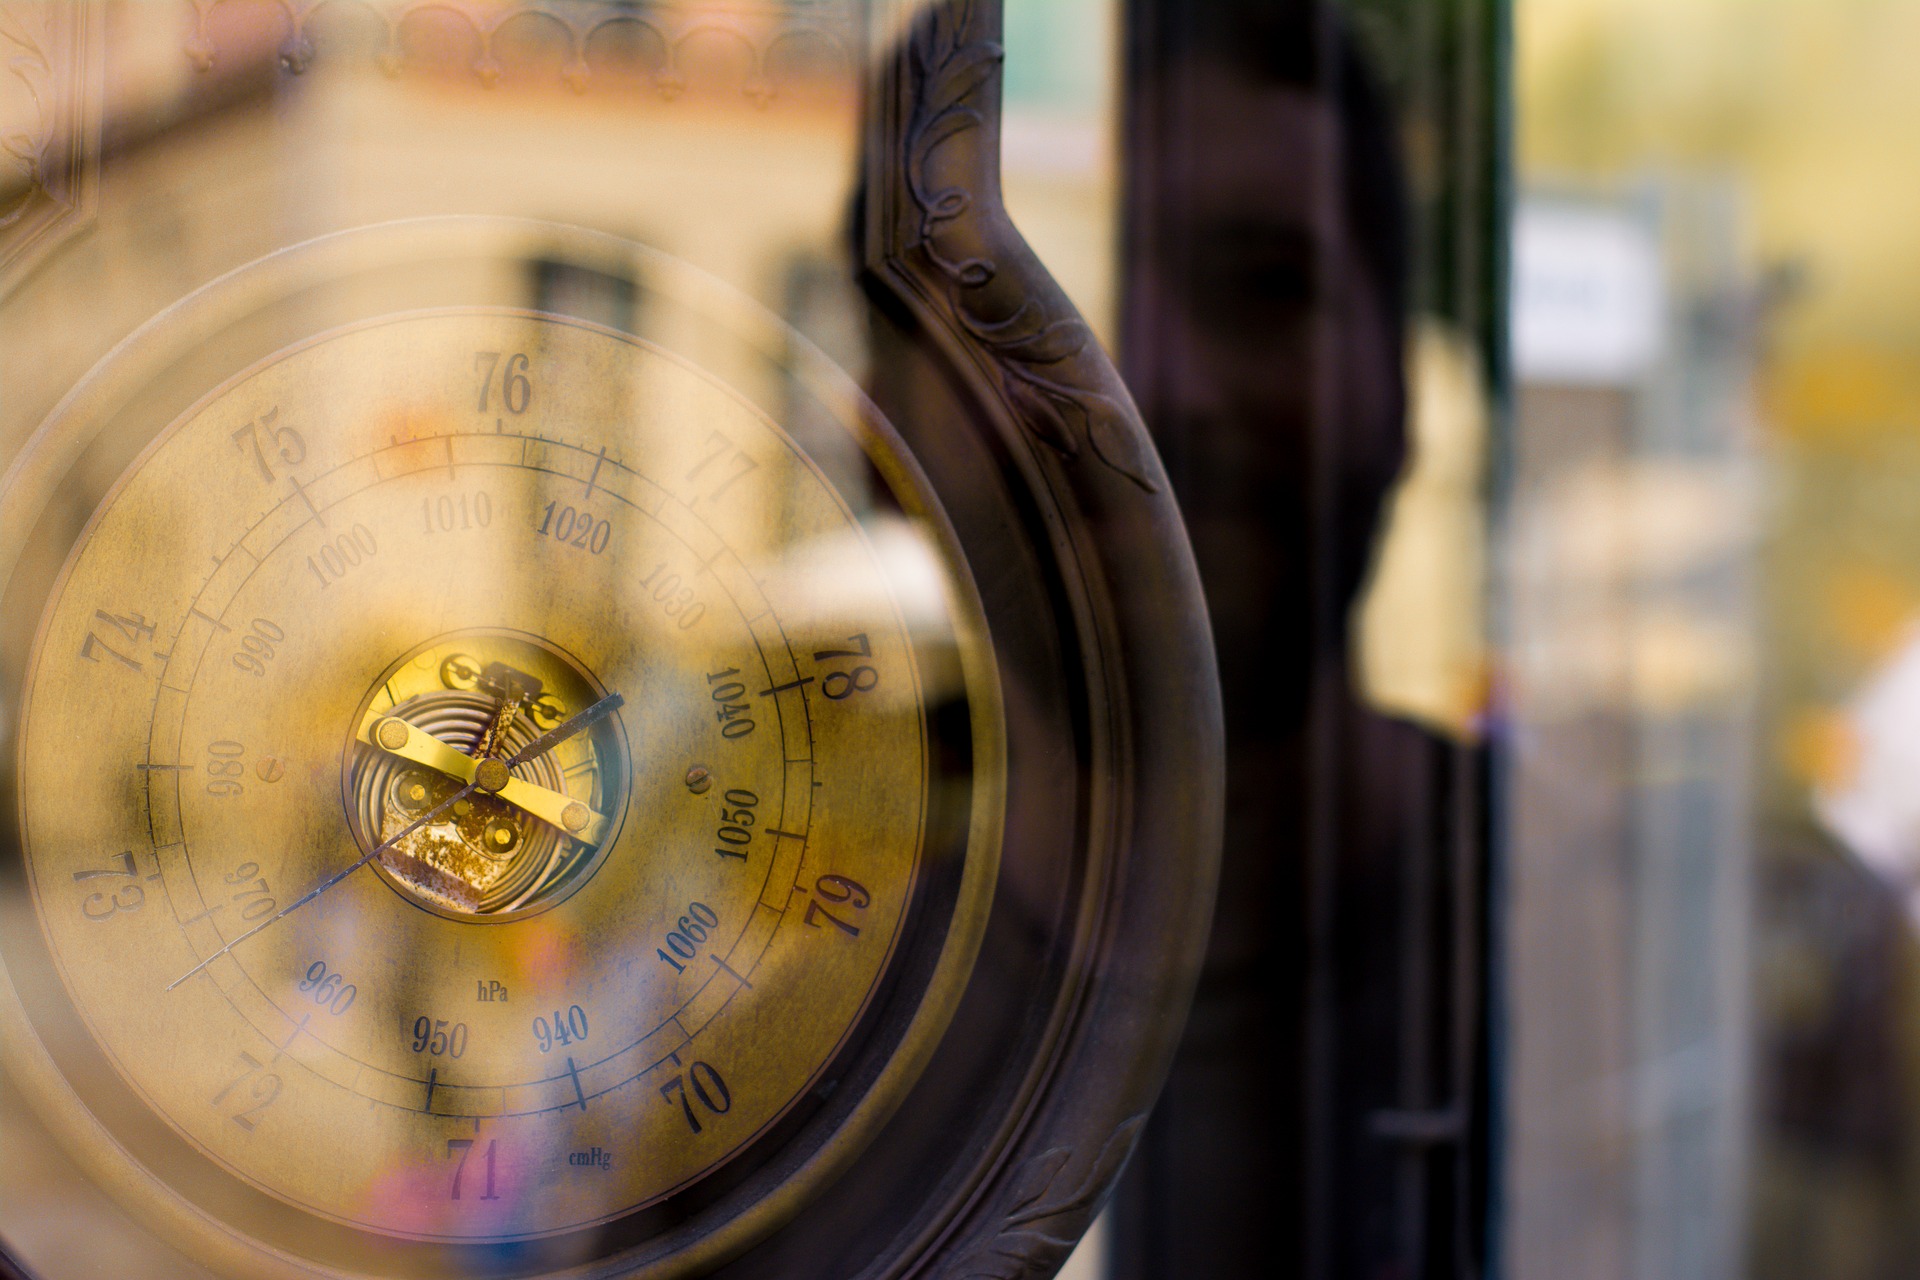
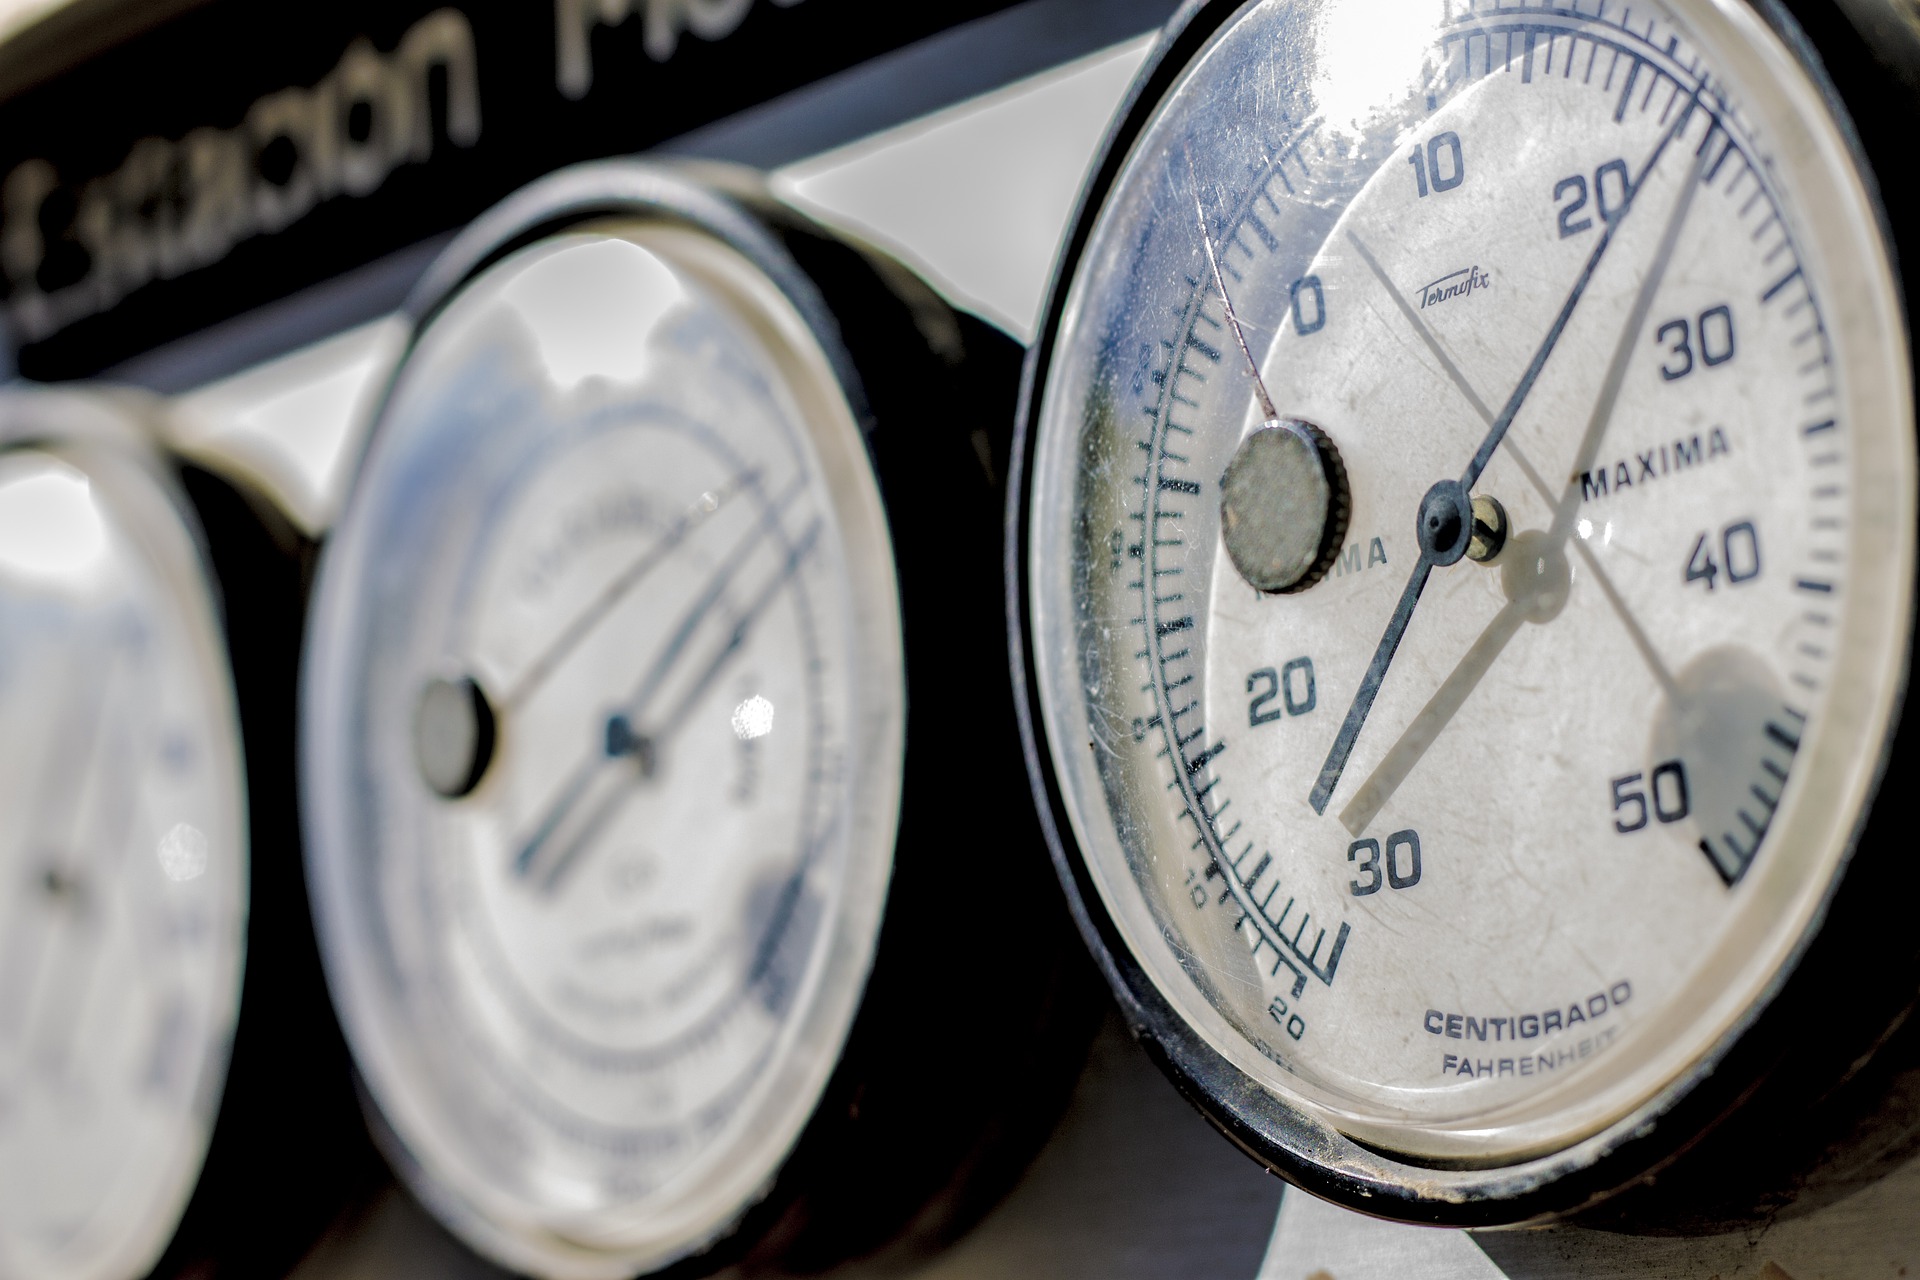
An aneroid (no fluid) barometer is a useful tool for meteorologists to examine changes in air pressure and predict what weather is on the way. Barometers can also be used to measure altitude as pressure decreases with an increase in altitude.
As the air pressure outside of the jar changes, the balloon or rubber glove lid will move up or down. A rise in the straw indicates a high pressure system and oftentimes means that clear, sunny weather is on the way. A falling straw indicates a low pressure system, which may lead to wet and stormy weather.
Try It!
- Over the next week, note (and mark down) if the straw moves up or down and what the weather conditions are like. Did you notice any patterns?
- Do you think the barometer will work inside the house? Why or why not? Try it out!
