Way To Grow!

Have science fun as a family! Complete activities with parental supervision.
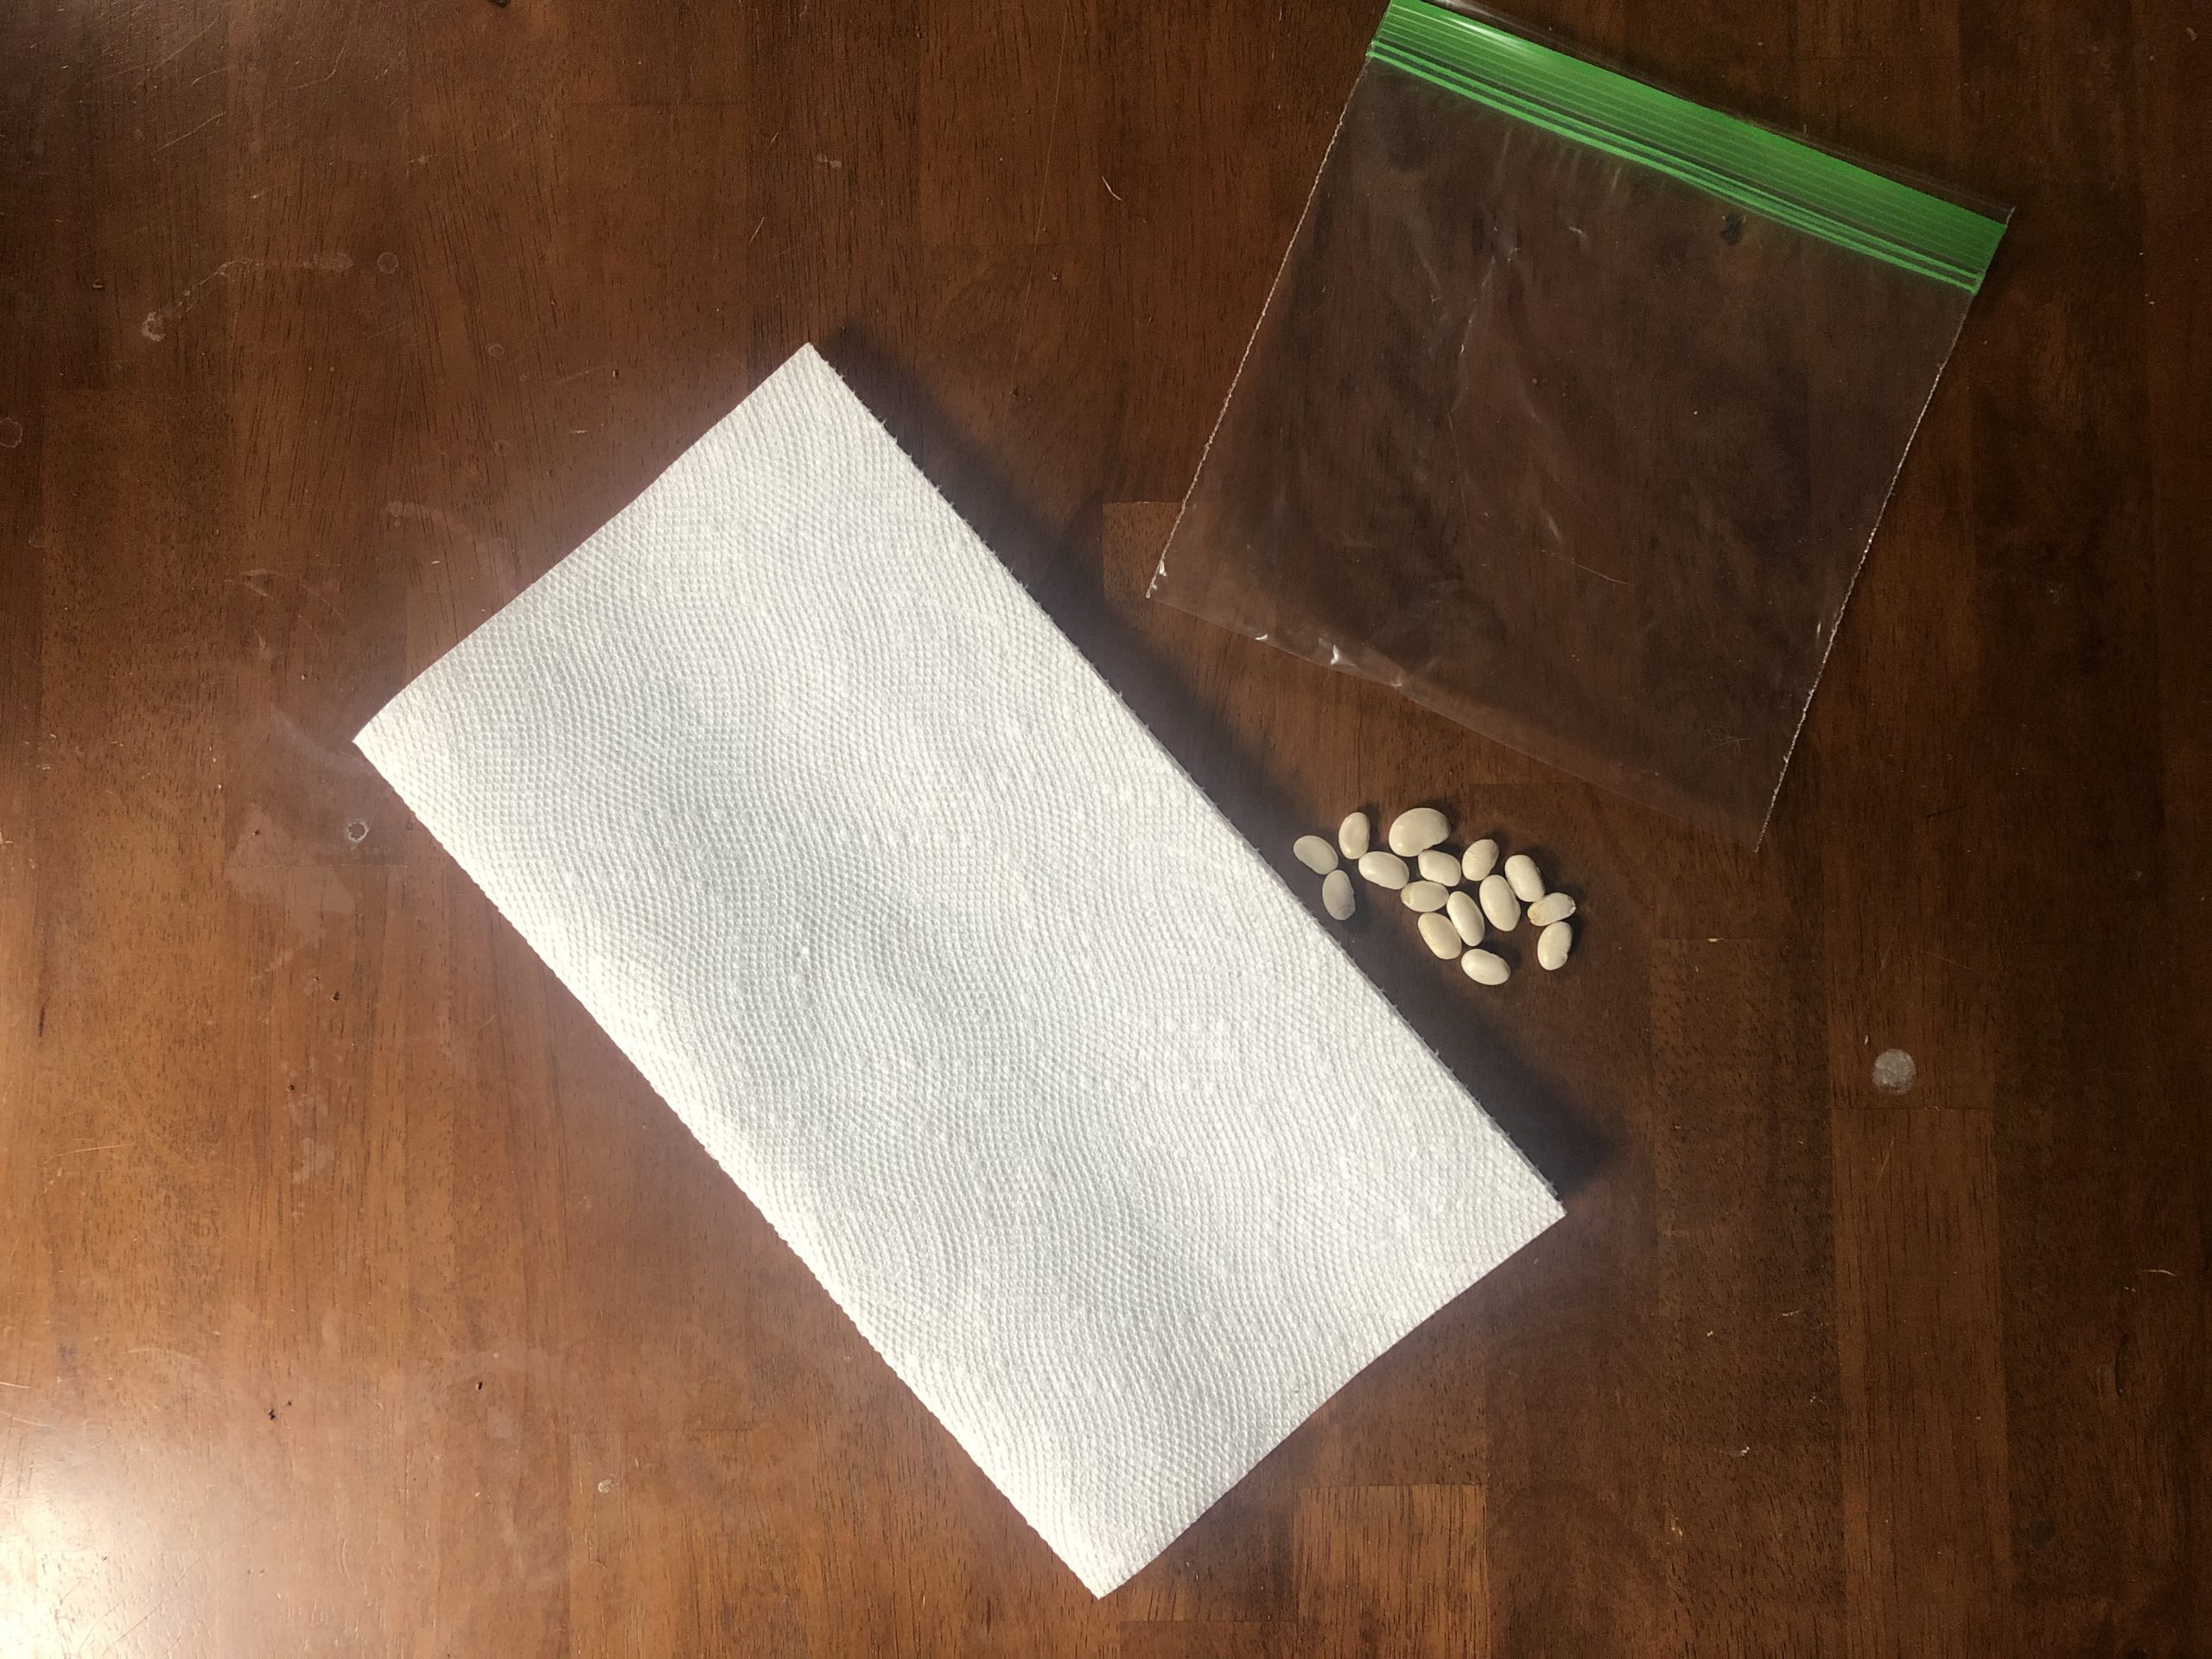
Materials:
- Dried beans
- Water
- Sandwich bag
- Paper towel
- Tape
- Soil (optional)
- A cup (optional)
Procedure
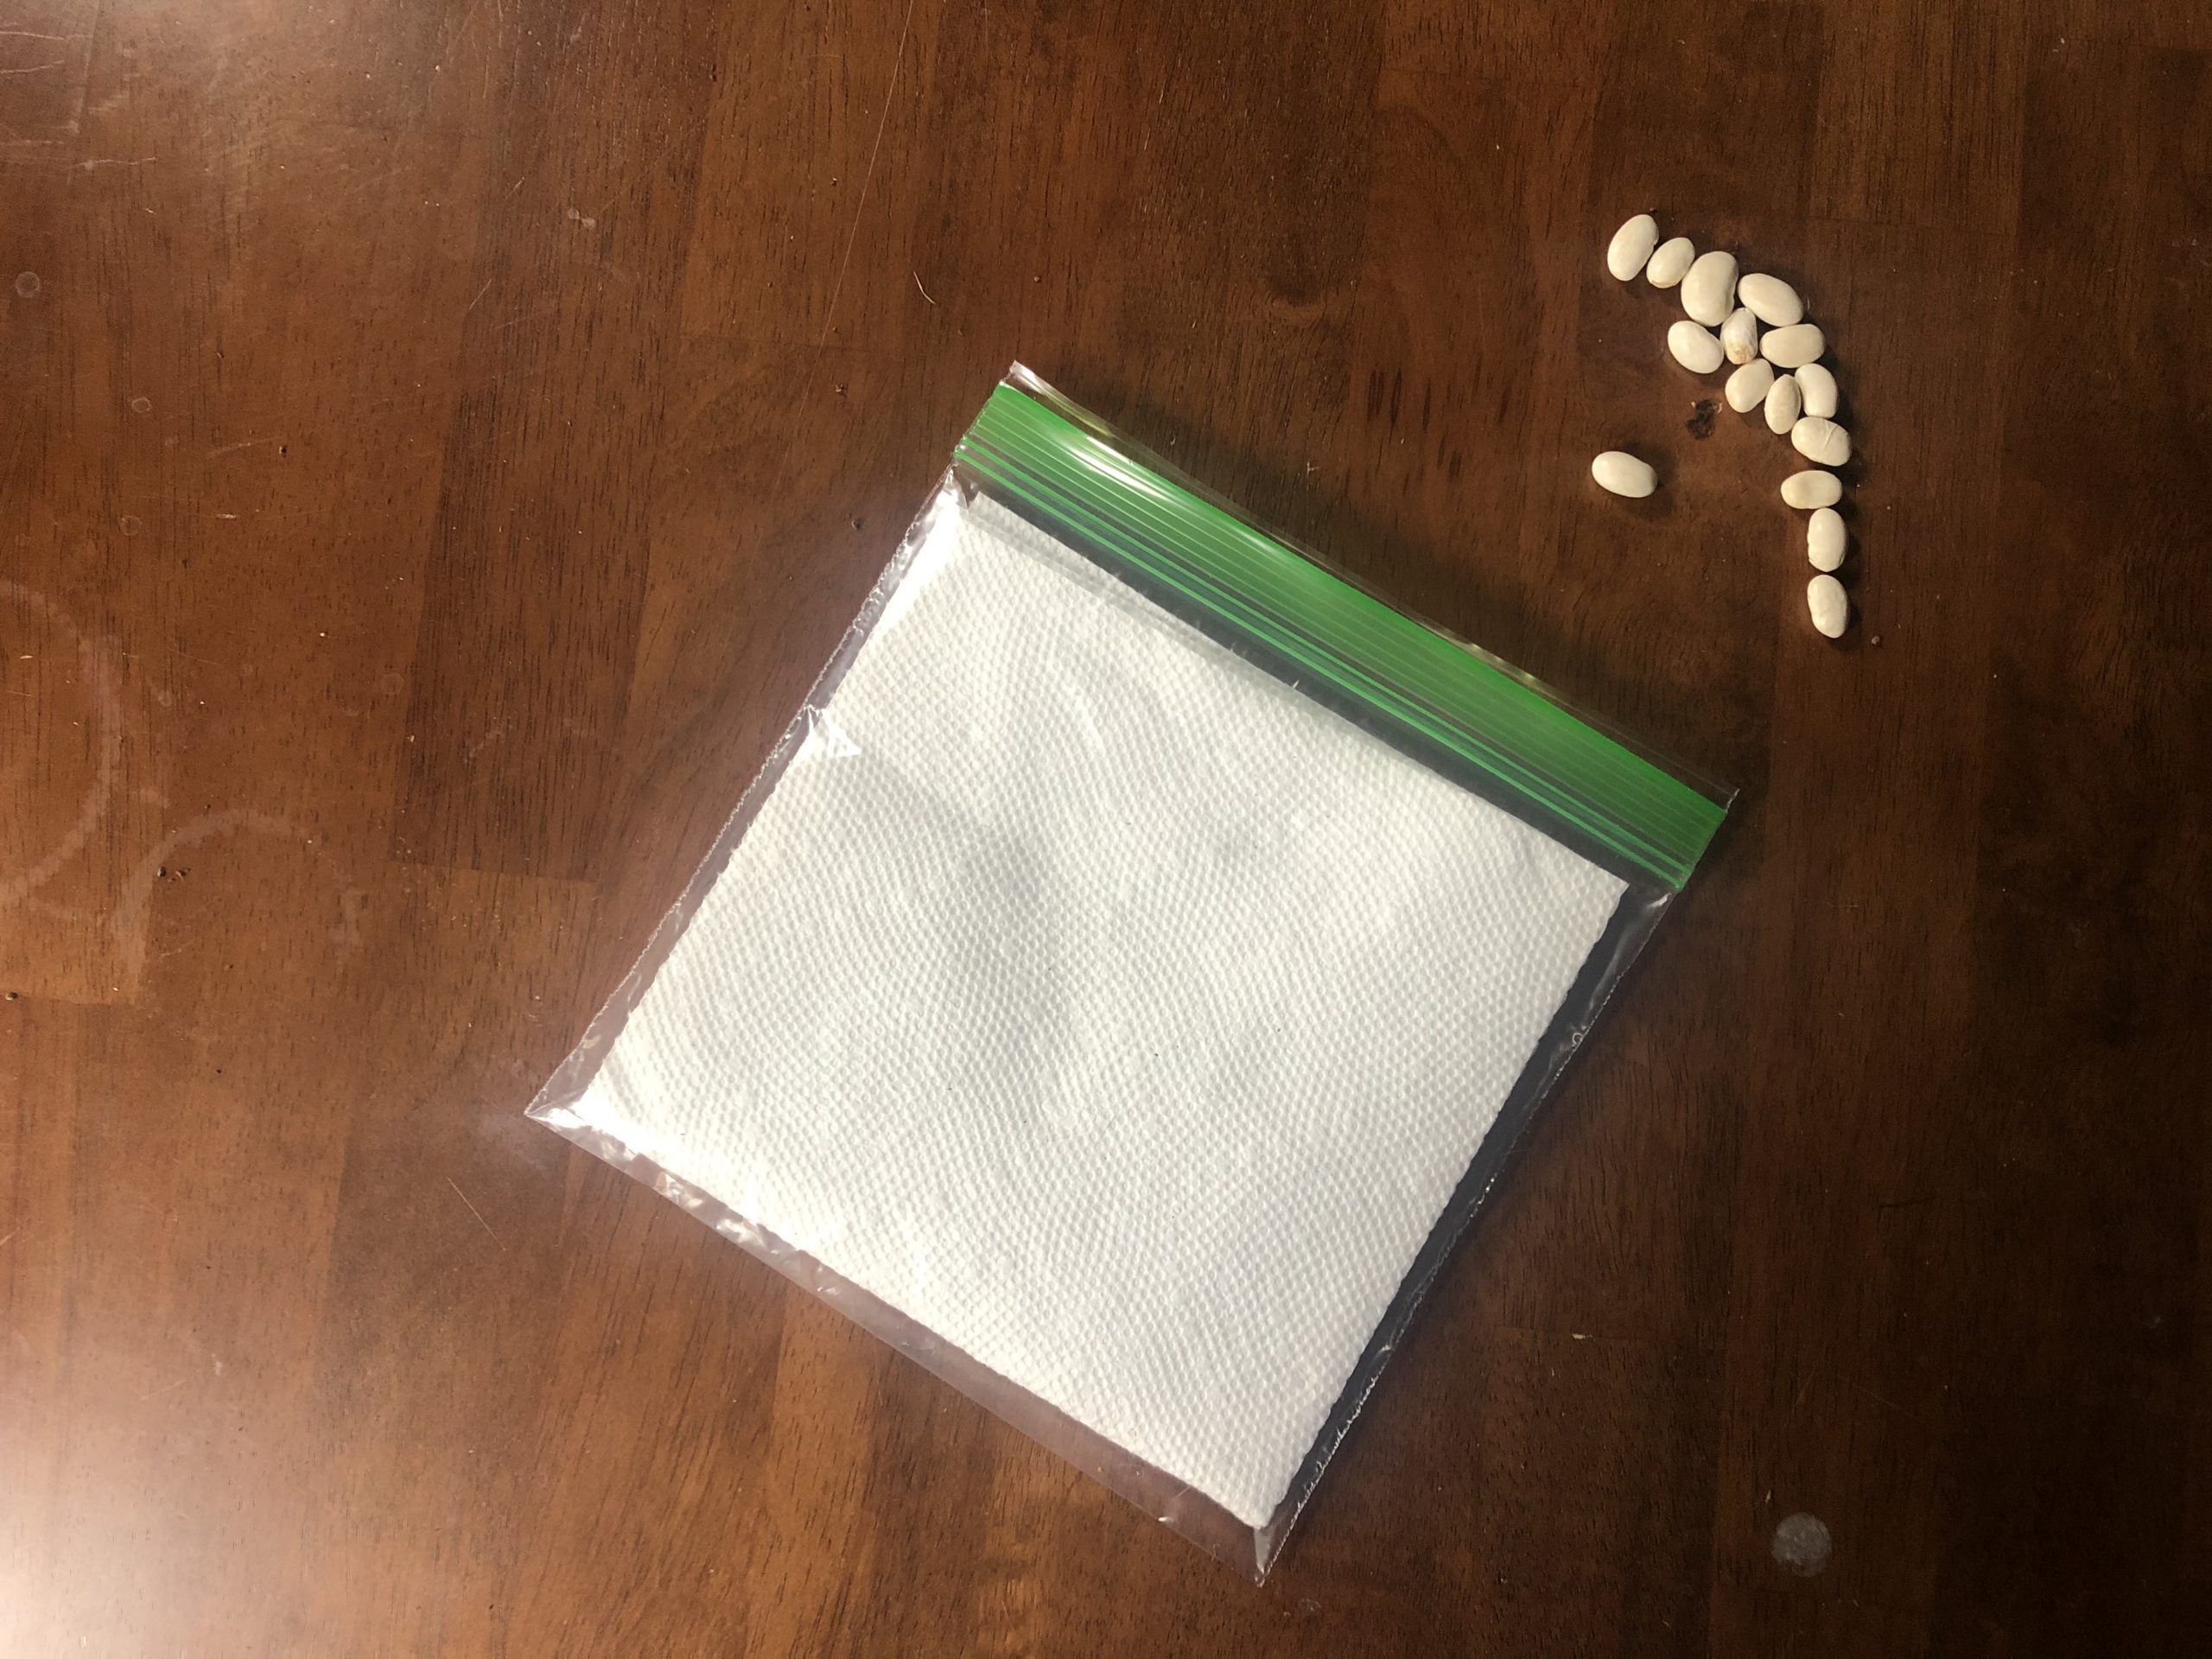
- Dampen the paper towel, squeezing most of the water out.
- Fold the paper towel to fit into the sandwich bag and place it into the bag.
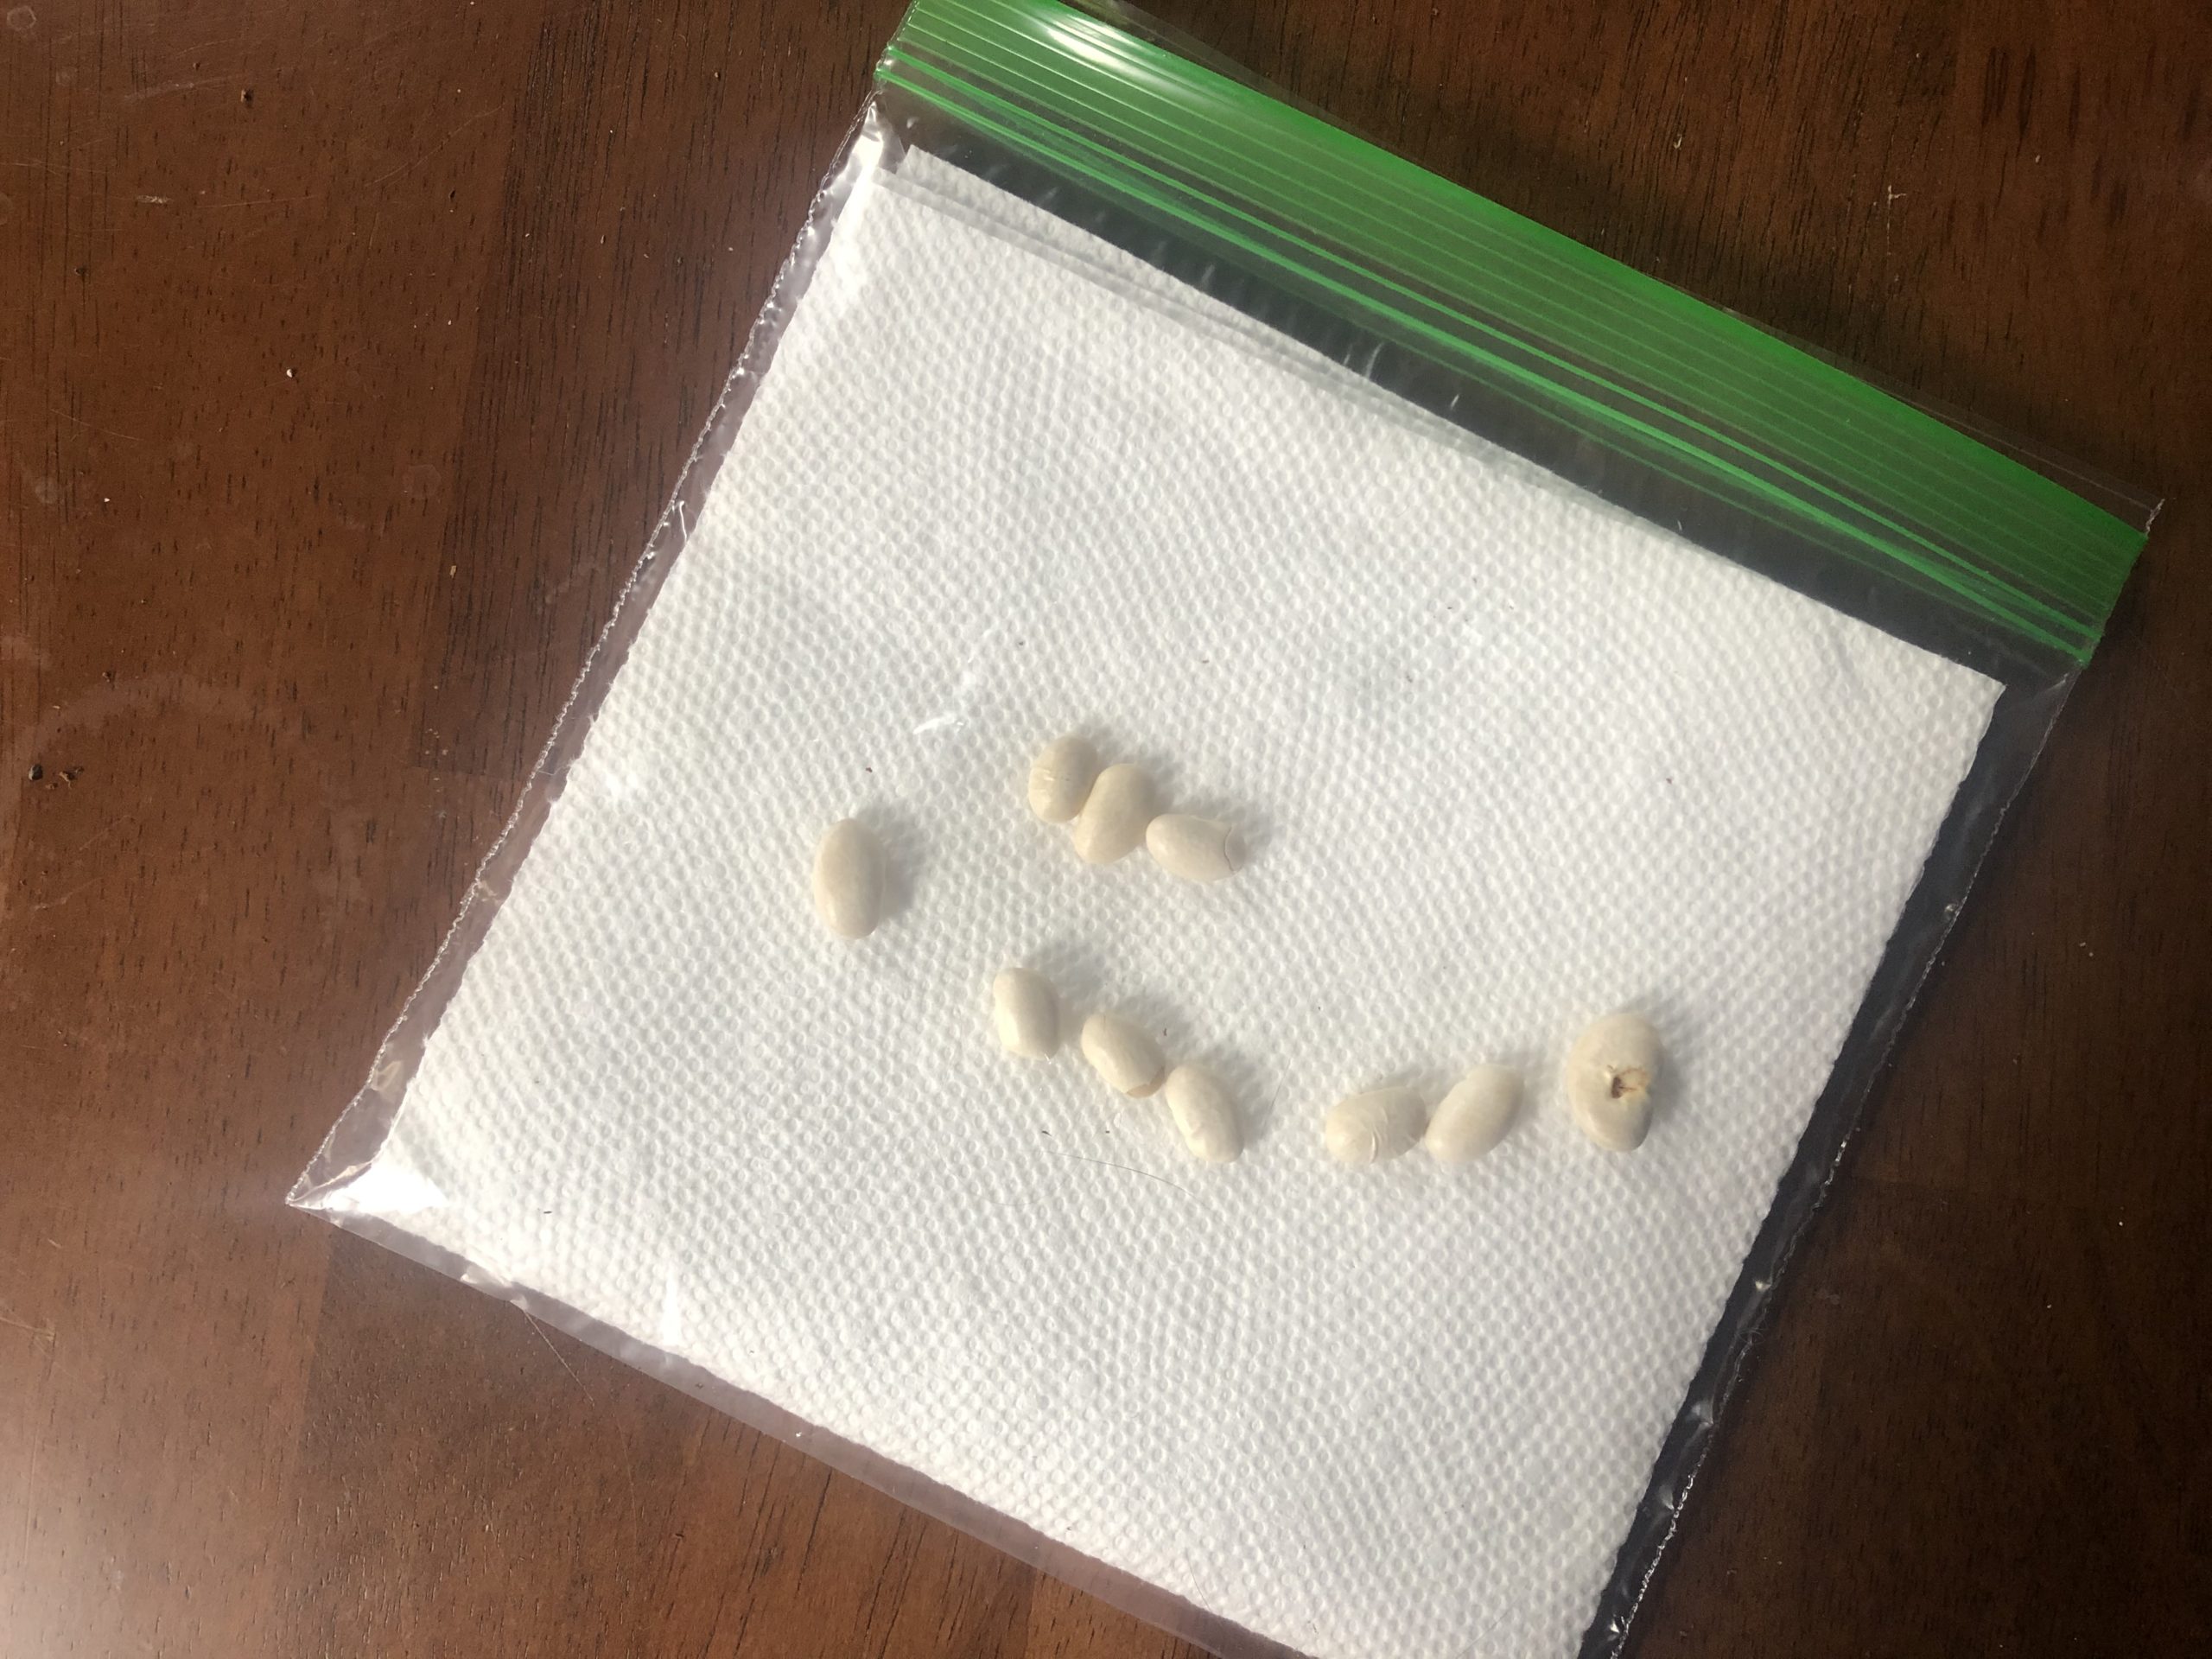
- Place the dried beans into the bag so they stick between the wet paper towel and the side of the bag. Make sure not to seal the bag.
- Tape the bag to a window or, if your windows are cold, to the wall that gets a lot of sunlight.
- Over the next few days, monitor the beans and make sure that the paper towel does not dry out.
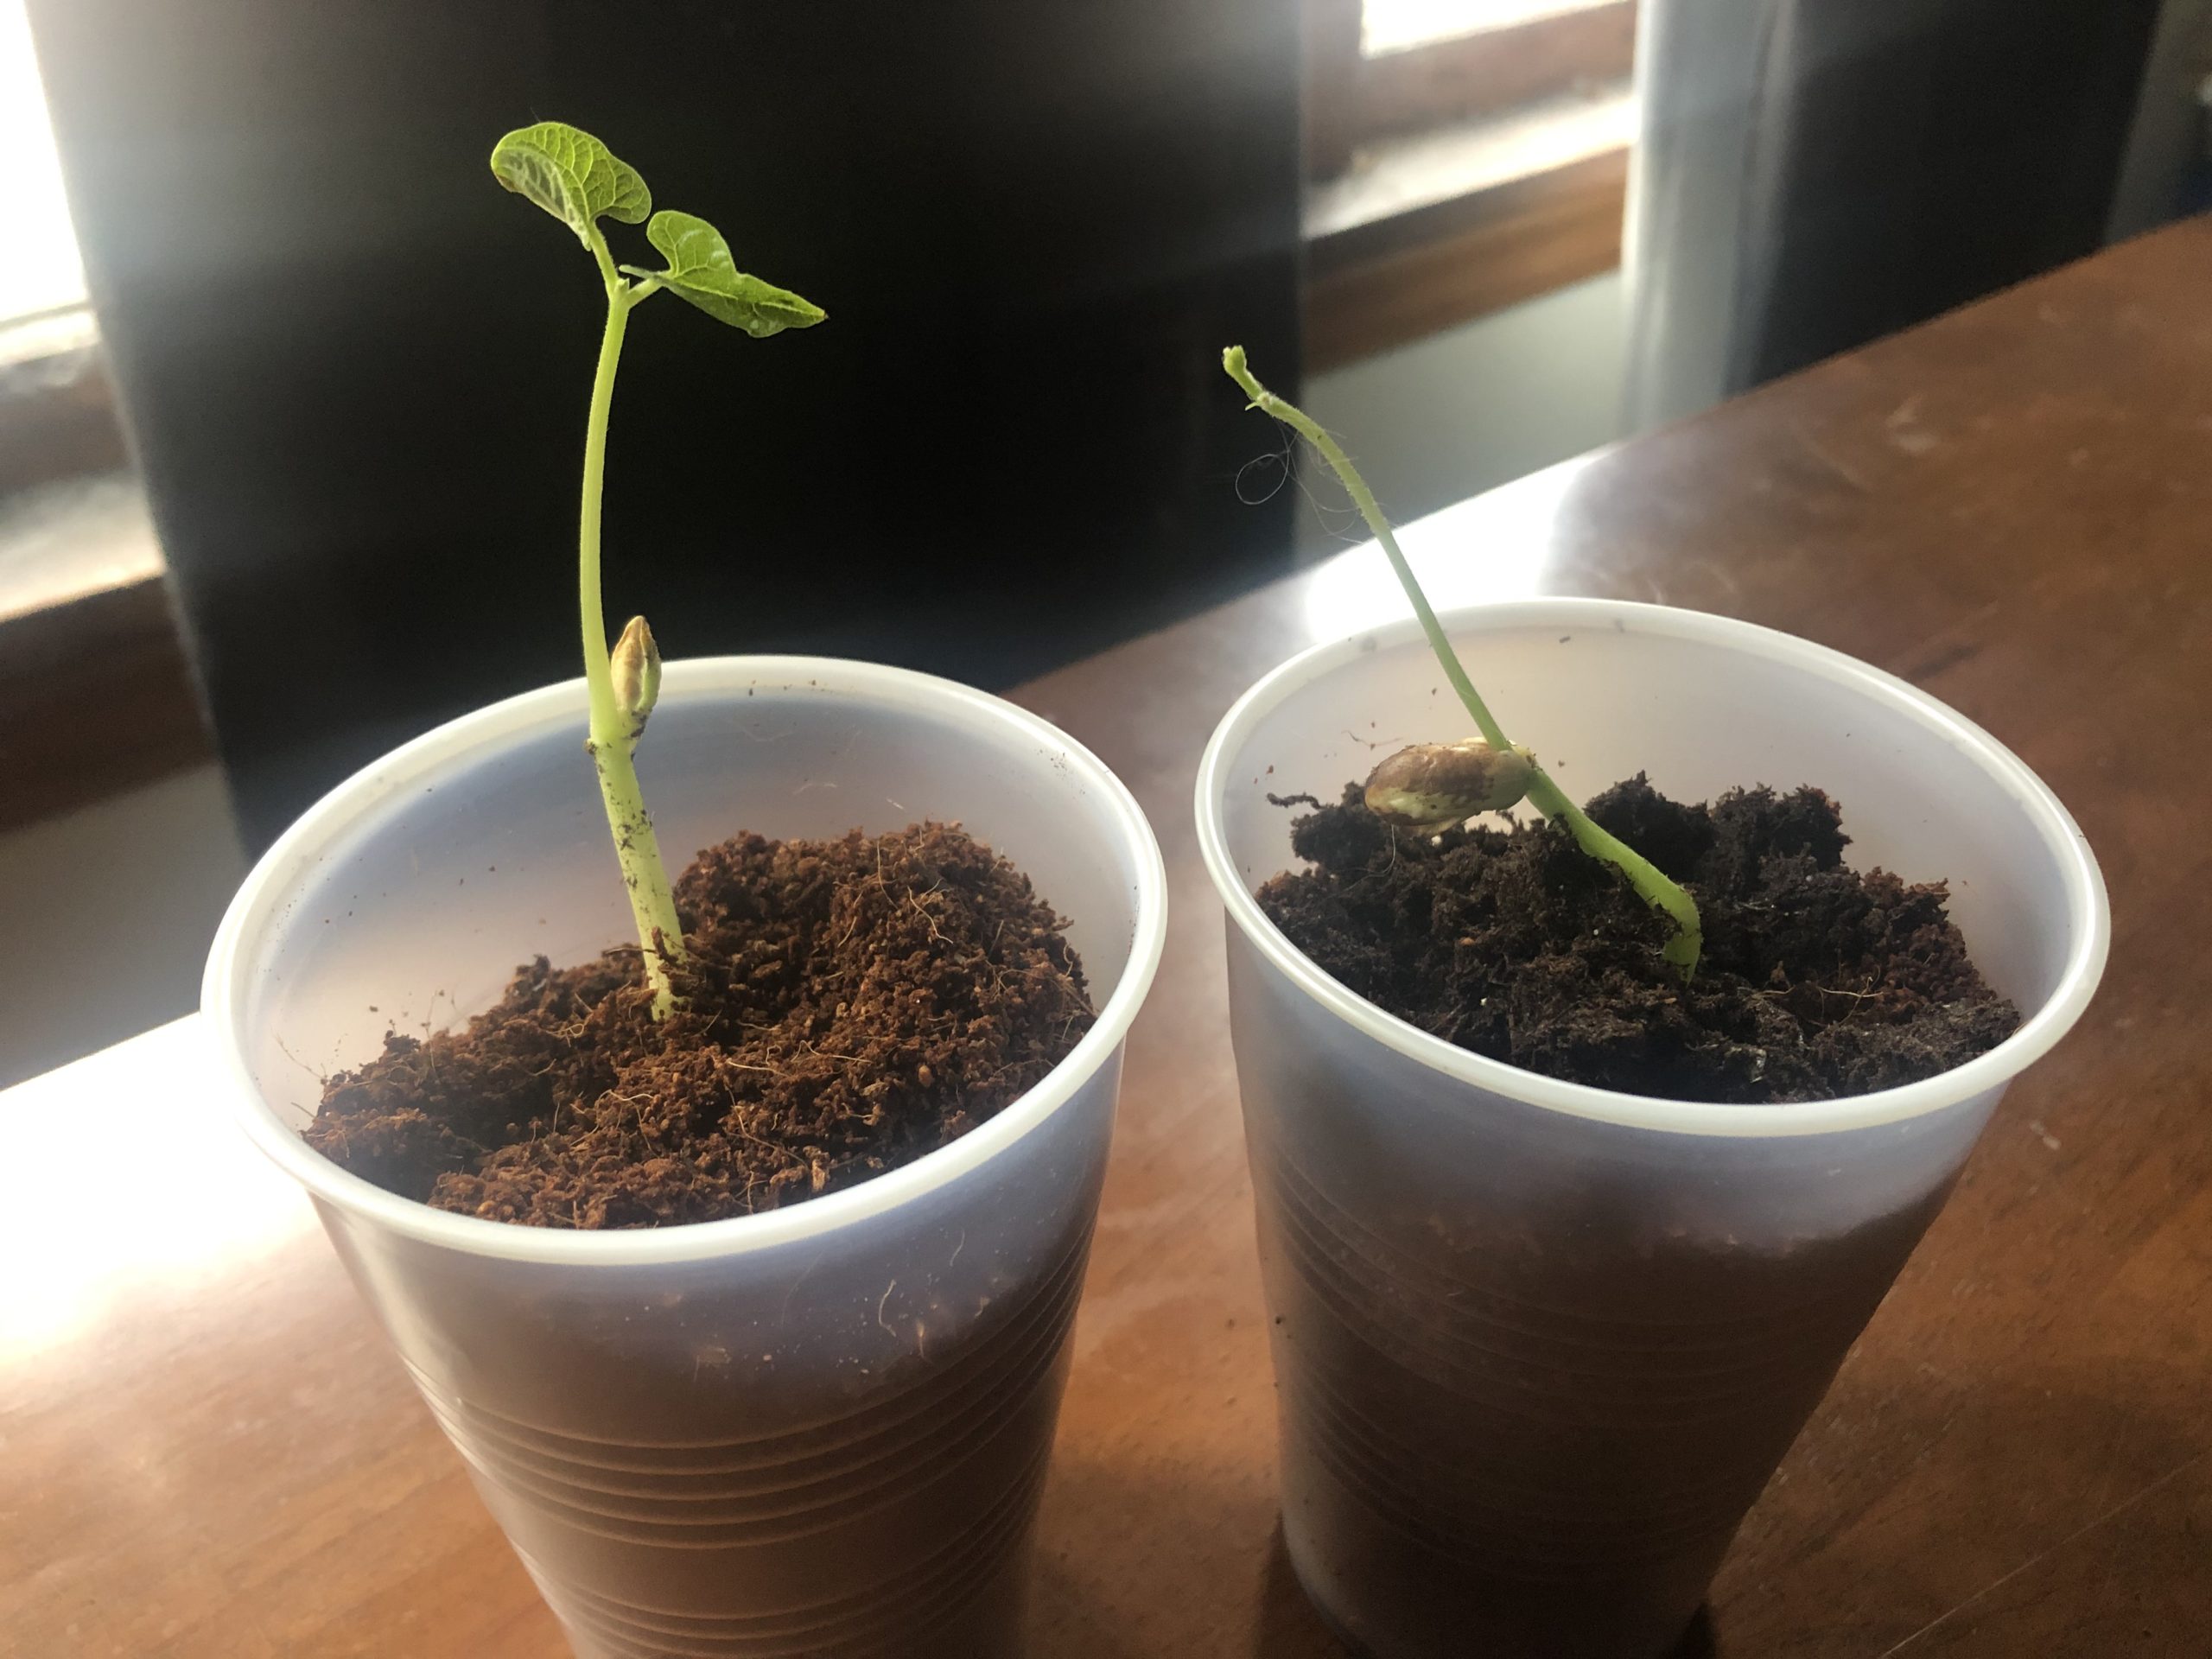
- Watch them grow! Not every seed will germinate, but look closely at those that do. The plants can get pretty big even just in the sandwich bag.
- After it’s grown an inch or so, plant the bean sprout into a cup with soil, being careful not to break the roots. Water and care for your new plant friend!
- Be sure to take a picture or video to share in the Facebook comments on the Buffalo Museum of Science or Tifft Nature Preserve pages!
What’s it all about?
Seeds, like the dried bean, contain baby plants, but these plants won’t grow unless its environment tells it to! In order to sprout and form leaves, the seed must go through a process called germination.
When conditions are right, seeds will germinate. They need light, air, and water. Temperature can also affect this, so your beans may take longer to sprout if they are by a cold window.
When a plant first sprouts, the nutrients inside of the seed feed it. But over time, the plant relies on roots and leaves to collect the energy and nutrients that it needs. If your plant uses up the nutrients in the seed, it will have to be transplanted into soil to survive.
Try It!
- We used beans, but are there any other seeds that could work? Try other seeds like pepper seeds, tomato seeds, or even popcorn kernels and let us know how they work!
